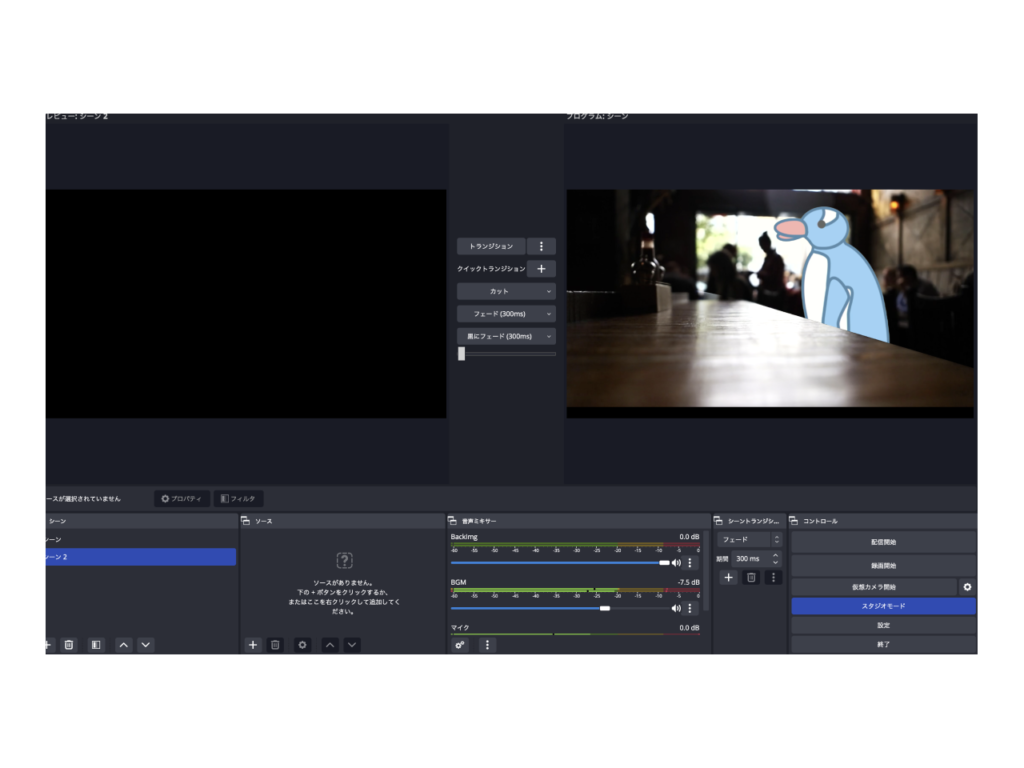
This post walks through the process of animating a mascot in Character Animator and streaming it live through OBS.
We take on mascot design and animation for companies and apps,
all the way through to live streaming the result.
Get in touch via the contact form if you'd like to commission one.
Production Process
For a mascot with simple movements, we follow the steps below.
This post skips the details of steps 1 and 2.
- Mascot design (Illustrator, Photoshop, etc.)
- Setting up motion in Character Animator
- Configuring the NDI tool
- Configuring OBS
Here's what the finished result looks like!
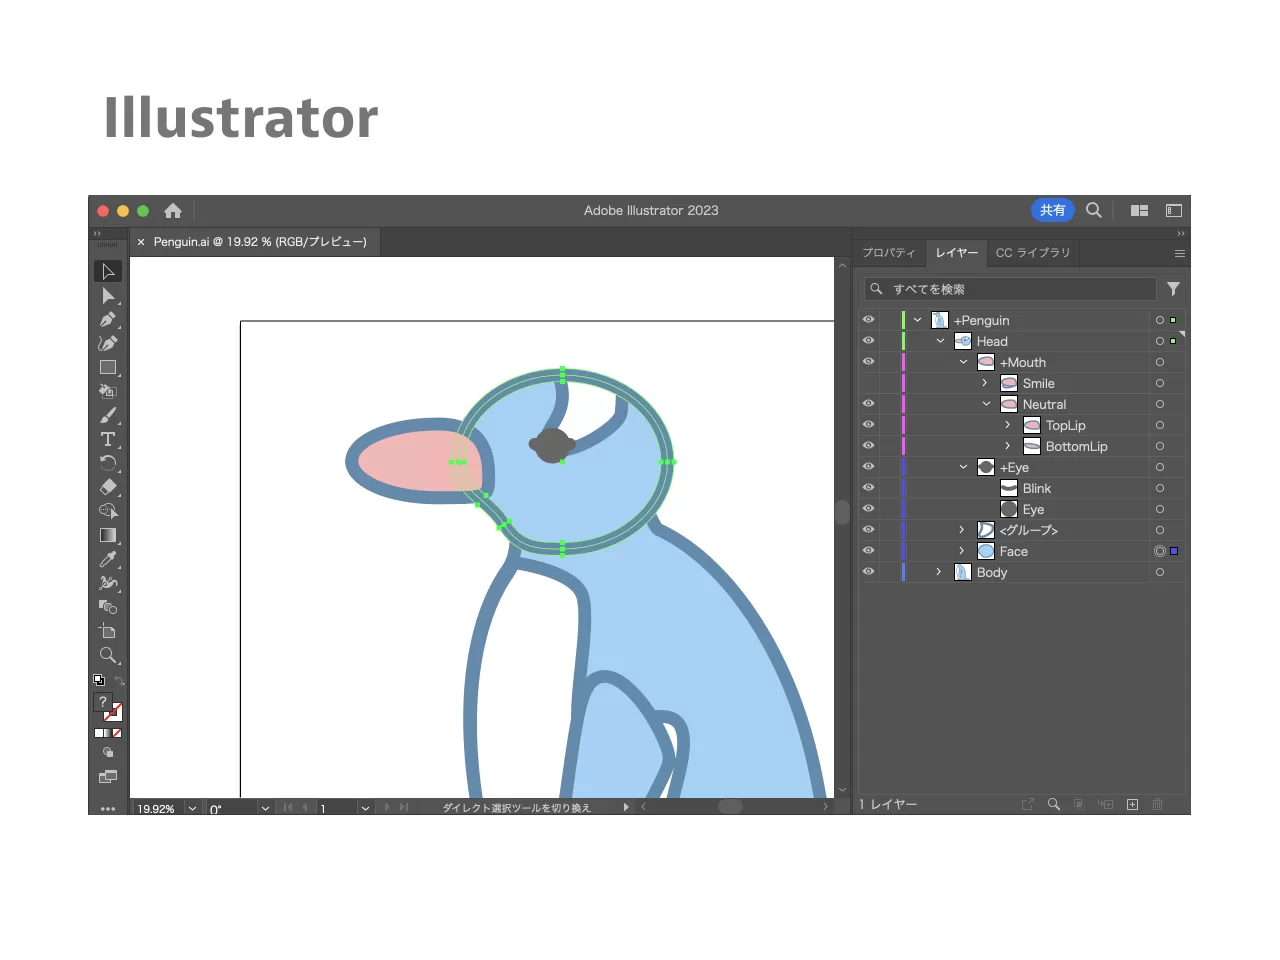
Mascot Design
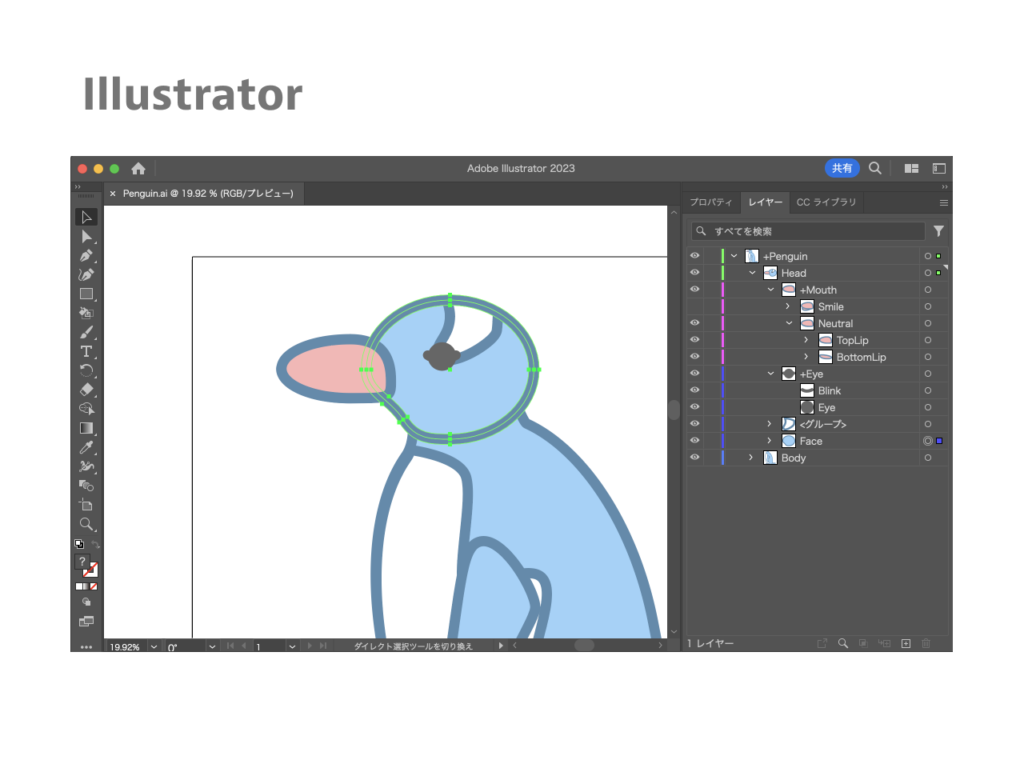
This time I made a penguin. Keeping the layers cleanly separated makes everything that follows much easier.
Installing the NDI Tools
Download and install the NDI tools from the link below. I've confirmed it works on M1 Macs as well.
NDI Tools: https://ndi.video/type/ndi-tools/
Setting Up Character Animator
Import the puppet into Character Animator and set up its motion. I won't go into the details of the motion setup here.
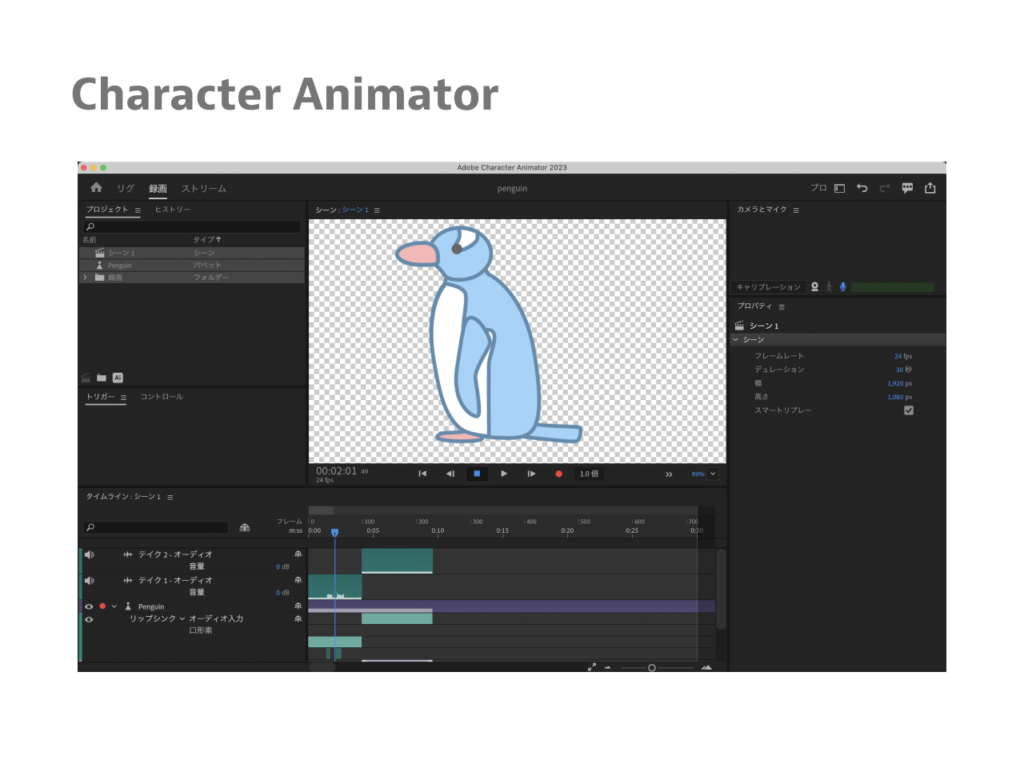
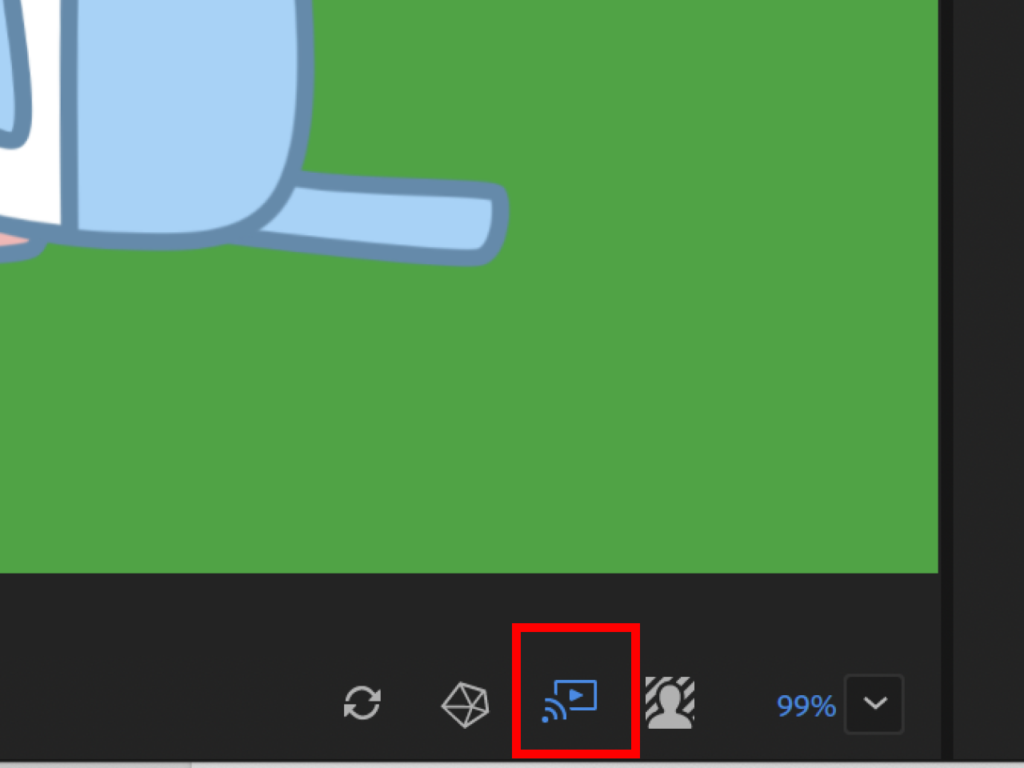
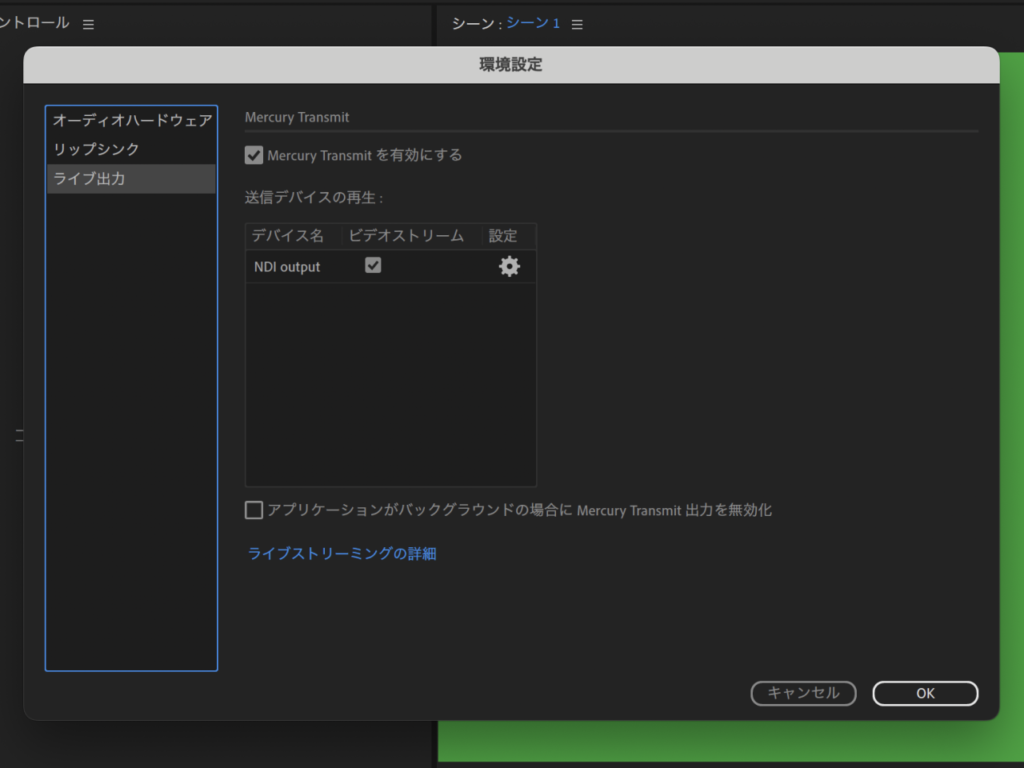
When you're ready to stream, click the "Live Stream" icon in the lower right of the Scene panel to turn it on.
Cmd + Click the Live Stream icon to open its preferences, then enable Mercury Transmit as shown in the image above. If NDI Tools is installed correctly, you should also see a checkbox here.
Also click the background icon next to the "Live Stream" icon to set up your green screen.
Bringing the Character Animator Feed into OBS
Loading NDI through an OBS plugin can misbehave depending on the combination of OBS and plugin versions, so here's a method that doesn't rely on an OBS plugin at all.
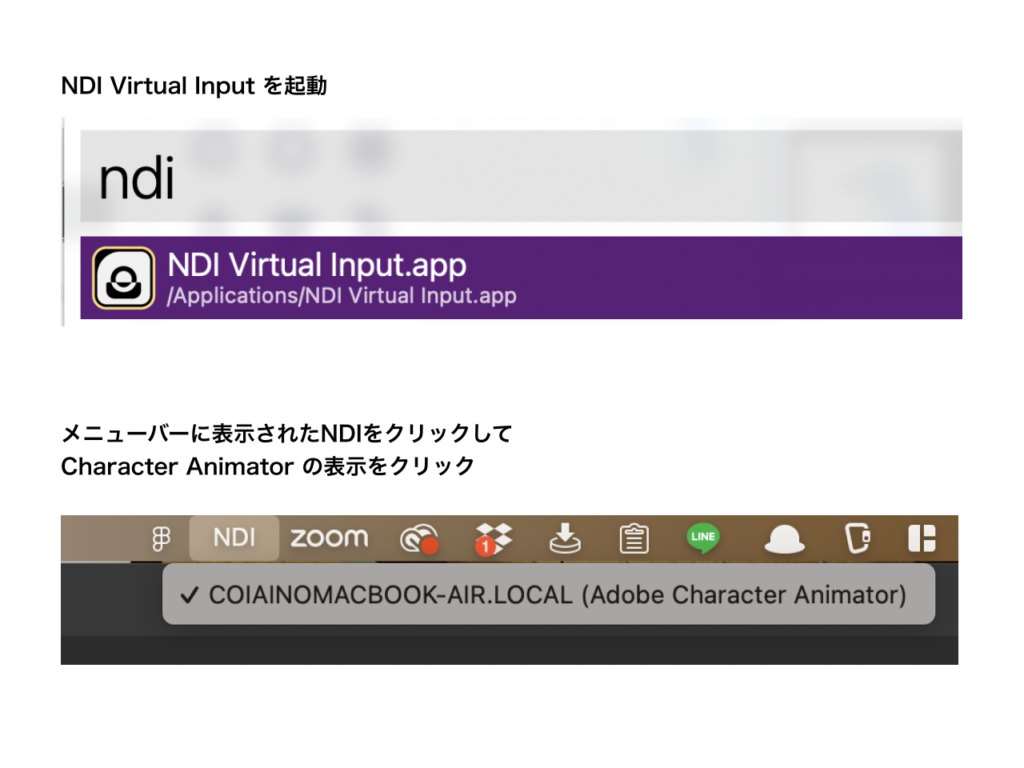
Launching NDI Virtual Input
Launch NDI Virtual Input.
It gets installed alongside NDI Tools.
Once it's running, you'll see an "NDI" item appear in the menu bar on Mac — click it.
You'll then see an entry like your-computer-name.Local(Character Animator); click it to select it.
Receiving the Transparent Feed in OBS
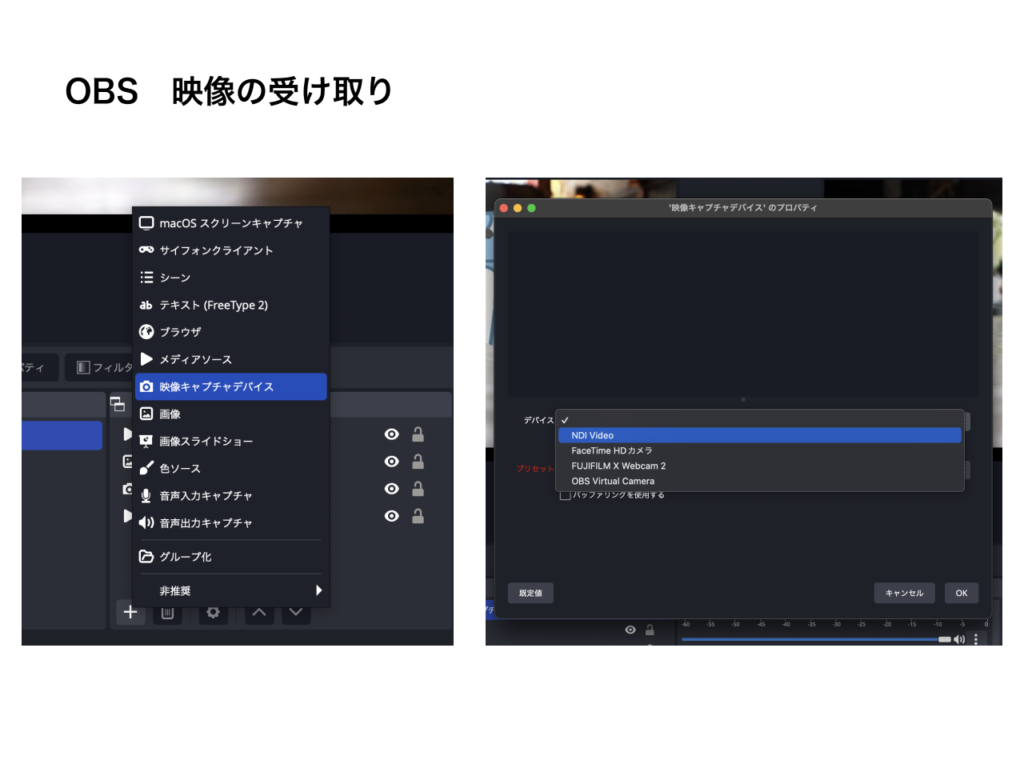
Open OBS, click the add-source button, and choose Video Capture Device.
Once the settings open, you should see an option called NDI Video.
Select NDI Video.
At this point the green screen is still visible, so you'll need to set up chroma key.
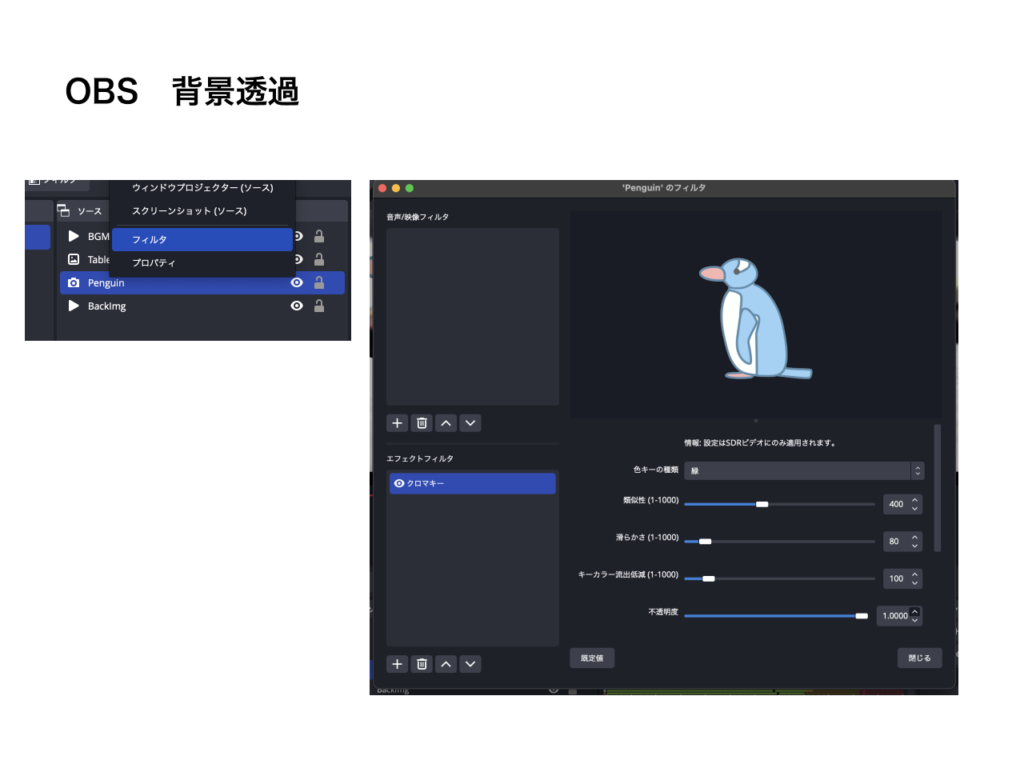
To make the background transparent in OBS, right-click the source and choose Filters.
When the settings popup appears, add "Chroma Key" under the effect filters.
Change the key color to green here, and the background should become transparent.
That's everything set up. Great work!