
What is this?
This article is for anyone setting up Google Tag Manager for the first time.
By setting up GTM and connecting it with Google Analytics,
you can track where your site's visitors came from — organic search, social media like Twitter or Facebook, or paid ads.
You can also visually analyze how users move between pages.
This article explains what GTM is and walks you through everything from the basics to setup, step by step, with illustrations.
This article reflects the latest information as of September 2024.
Basics and prerequisites
Google Tag Manager can collect data on:
clicks on buttons embedded in your website,
referrals from other sites, and scroll behavior.
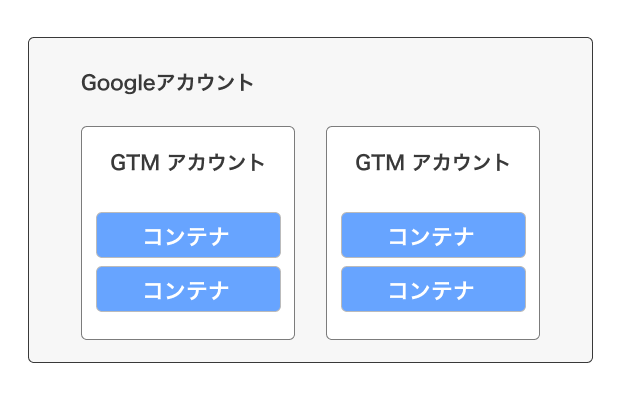
You can create one GTM account per project
under a single Google account.
It's best to create a container for each service.
Creating an account
First, go to Tag Manager.
https://tagmanager.google.com
Once there, create an account.
If you already have a Google account, you shouldn't have any trouble.
Creating a container
A container is like a bucket that manages your tracking code.
You'd normally create one container per service.
In general, create one container per domain.
You'll configure your tags within that single container.
Setting it up on your site
If you're using WordPress,
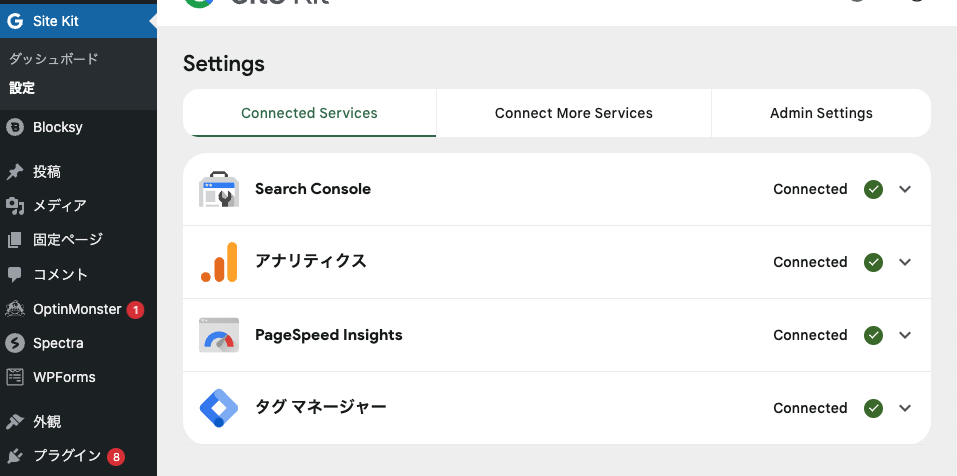
the easiest option is the Google Site Kit plugin.
From the WordPress admin screen, go to Site Kit, then Settings, and you should see the configuration options.
We covered the detailed setup steps in this article.
Other sites introduce ways to use different plugins, but as of September 2024, WordPress users should stick with Google's official Site Kit.
If you're using another framework,
when you first register with Google Tag Manager you'll get instructions for what to add to the head and body, so follow those.
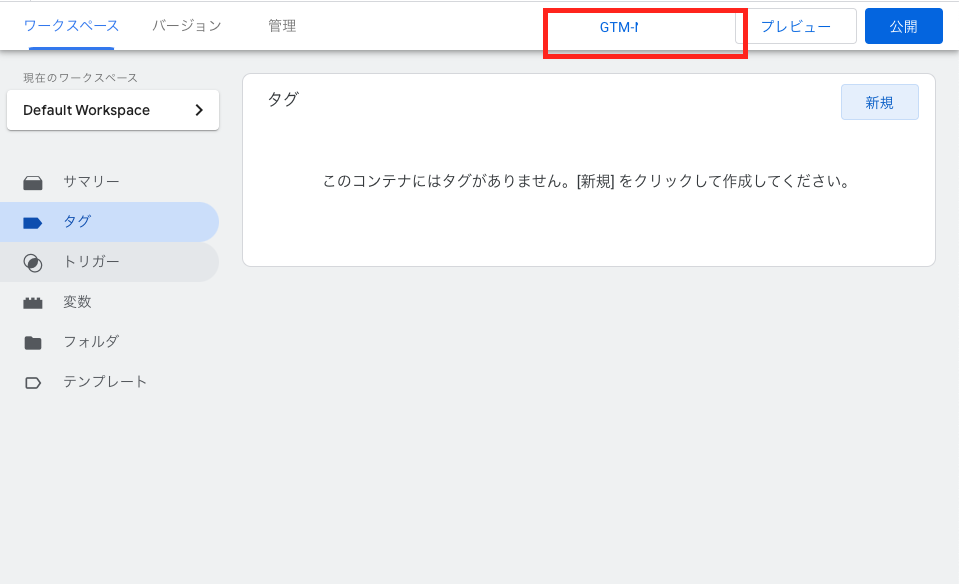
If you accidentally closed the first pop-up,
you'll find an ID starting with "GTM-" in the top right of the workspace screen.
Clicking it will reopen the setup instructions pop-up.
To confirm you've set things up correctly,
click the "Preview" button in the top right,
a new page will open, and once you click OK on the URL that appears,
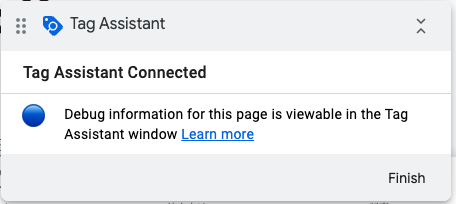
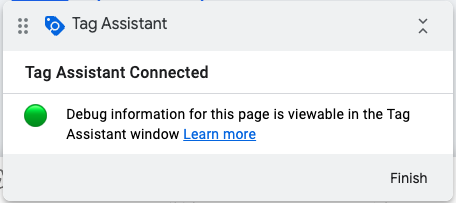
your own site will launch, and you should see a pop-up like the one below in the bottom right.
If it says "Tag Assistant Connected," it's working correctly.
What are tags, triggers, and variables?
The next section explains the specifics.
To get comfortable using Tag Manager, there are basically three things you need to know:
- Tags
- Triggers
- Variables
Understanding these three will get you quite far.
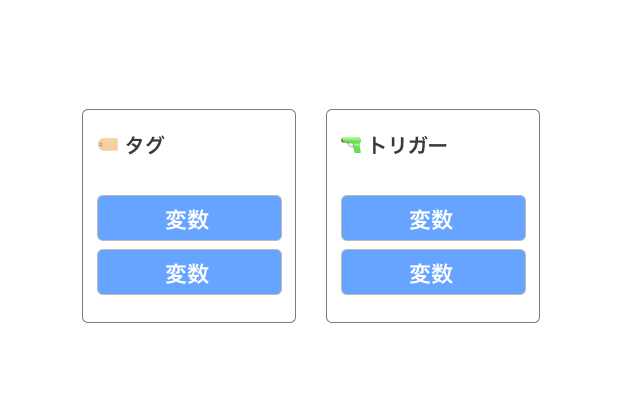
Both tags and triggers
can each have variables assigned to them.
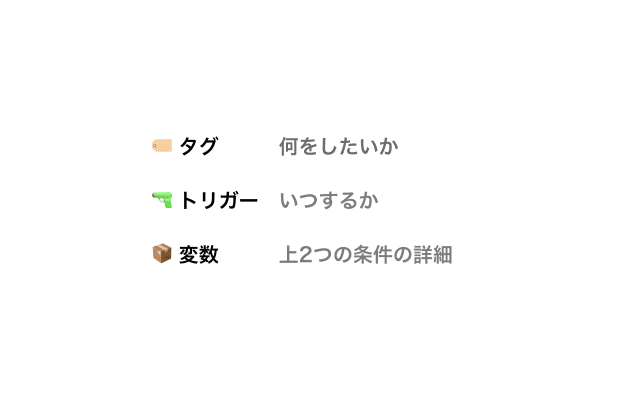
Tags, triggers, and variables each let you define:
- What you want to do
- When to do it
- What exactly is it?
respectively.
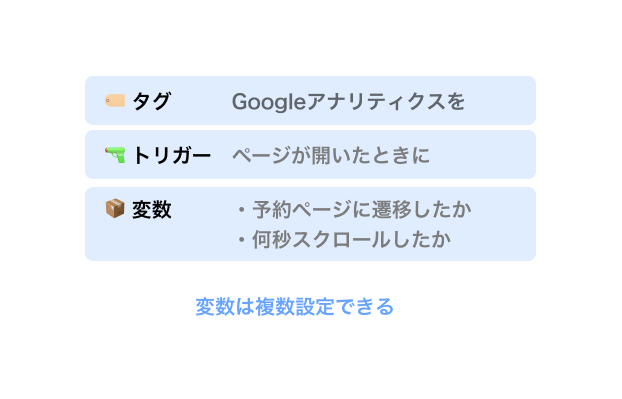
Concretely, that looks like:
- Tag
- Fire Google Analytics
- Trigger
- When the page opens
- Variable
- Whether the user navigated to the booking page
- How many seconds they scrolled
That's the kind of setup you can build.
Connecting to GA4
From this section on, we'll also touch on connecting to Google Analytics, so make sure you've set up Analytics first.
https://analytics.google.com
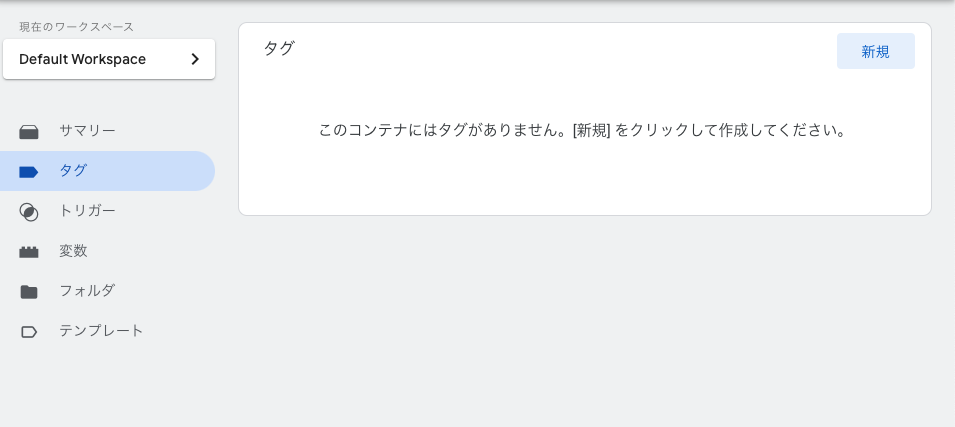
Let's create a new tag.
Go to the Tags tab and click the "New" button in the top left.
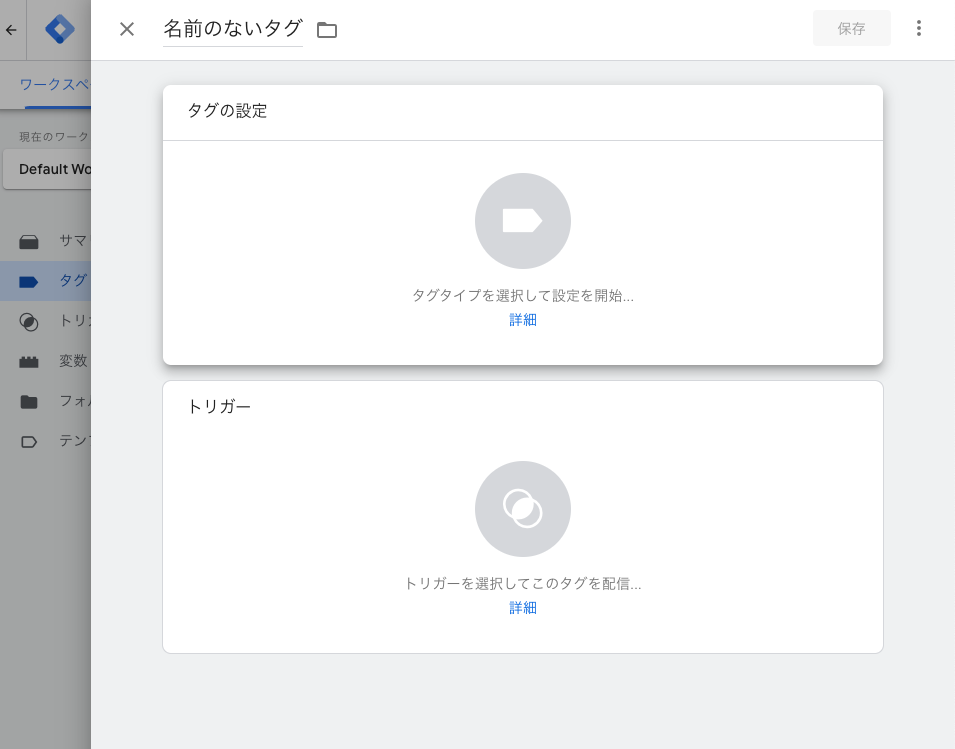
Click the tag configuration
Select [Google Analytics], then [Google Tag], in that order.
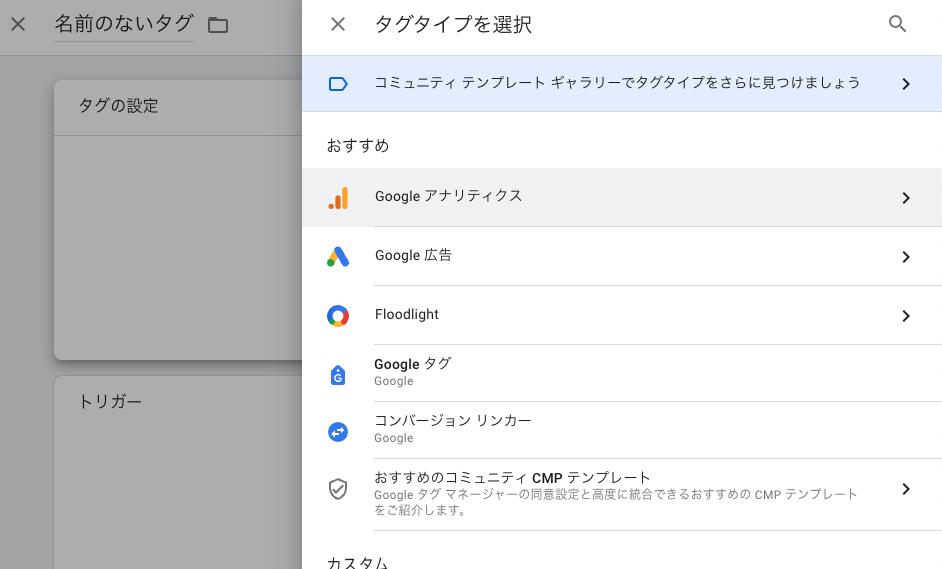
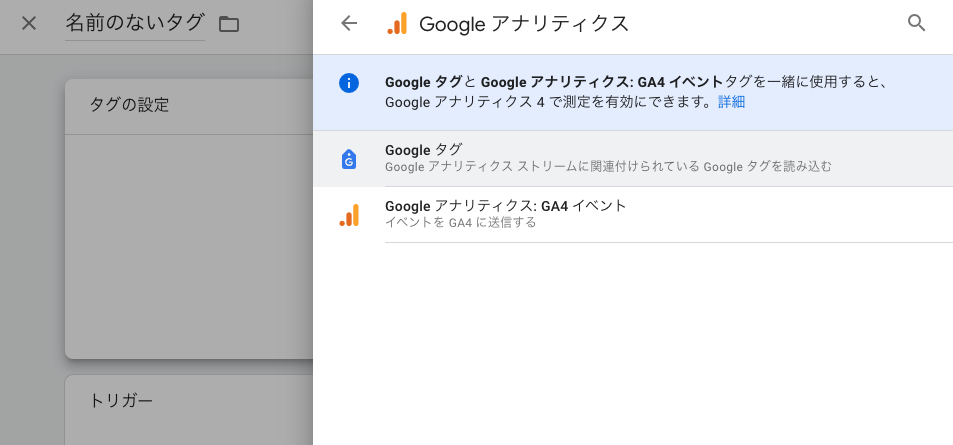
For the tag ID, paste in the Tag ID from your Analytics account.
The measurement ID is a string starting with "G-".
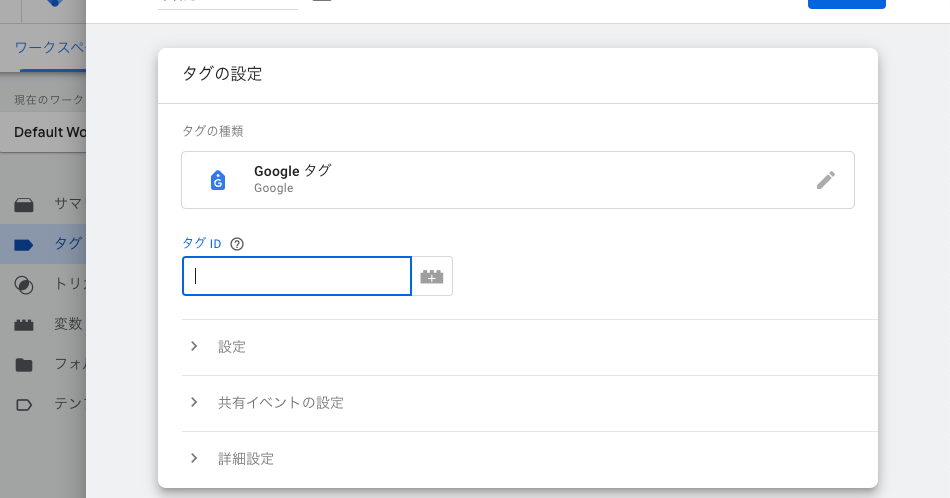
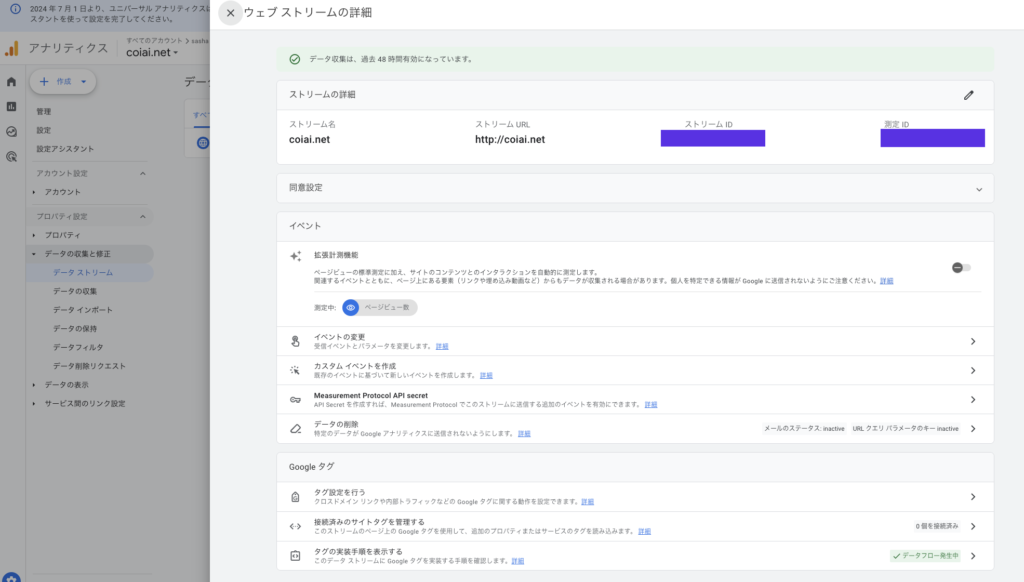
You can find the Tag ID by going to Data [Admin] → [Data collection and modification] and clicking [Data Streams], which shows your tag settings.
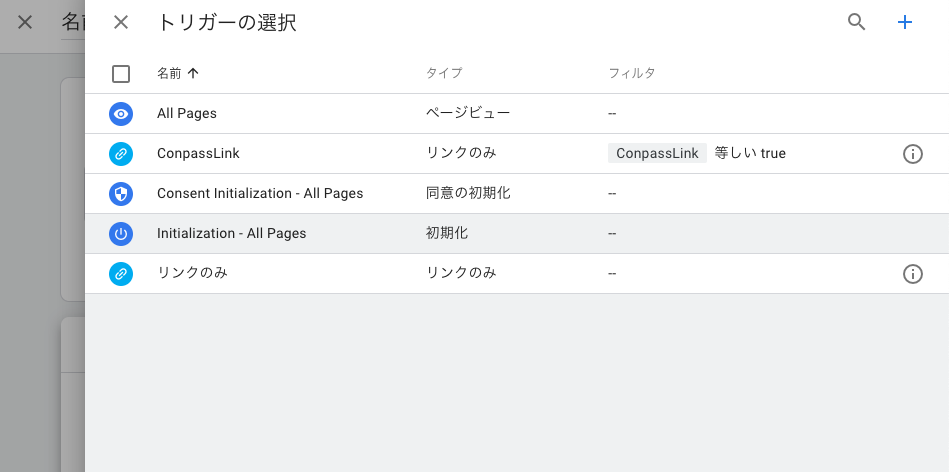
Next, click Triggering and select [Initialization – All Pages].
Some articles suggest choosing All Pages, but as of September 2024, we recommend choosing Initialization instead.
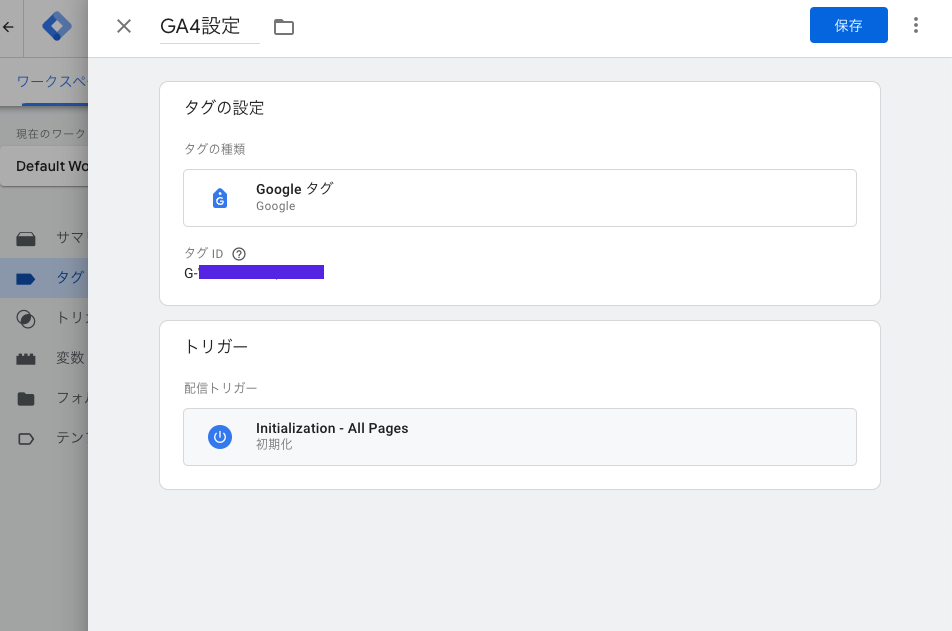
Once you're done, rename it and click [Save] in the top right.
That's it — you're finished.
Checking with Tag Assistant
Let's verify it works using the Preview button in the top right.
You're good to go if every page shows "Tag Assistant Connected."
Checking in GA4
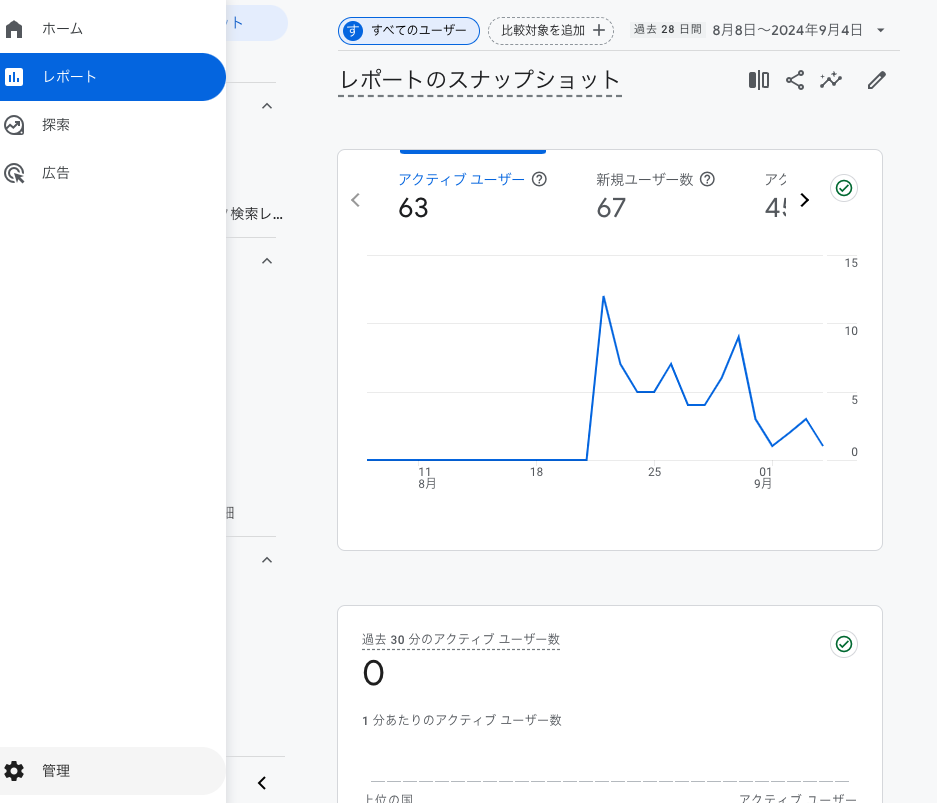
Next, let's check from the Google Analytics screen.
Once GA4 is open, select [⚙️Admin] from the left panel.
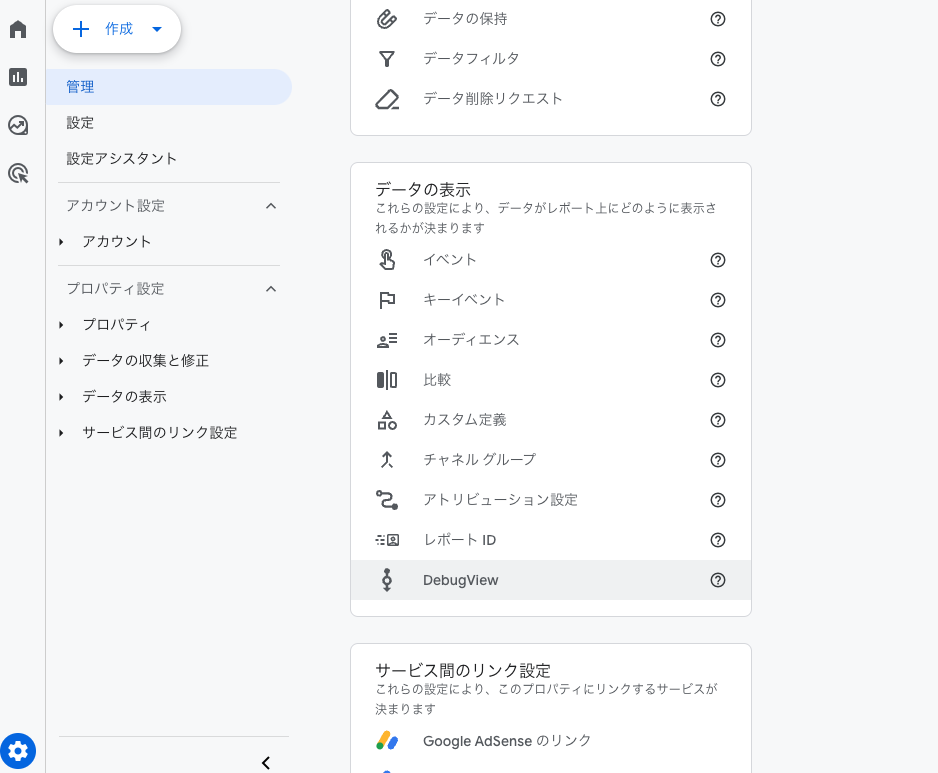
Scroll down
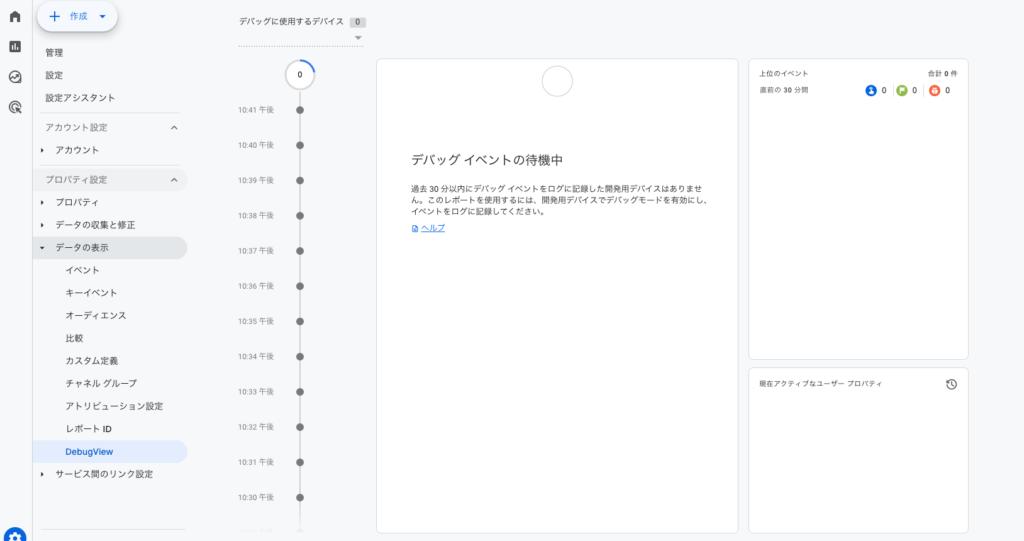
and you'll find [Debug View] under the Data display section.
Click on it.
If everything is working correctly, you'll see a log here of exactly when each trigger fired.
About triggers
A trigger is a firing condition.
It defines exactly when a data point gets counted.
Types of triggers
Here are the available triggers.
I've jotted down brief notes on each in a list.
(I've skipped explanations for ones whose name already says exactly what they do.)
- Page View trigger
- Fires when the page loads
- Click trigger
- All Elements
- Links, images, buttons, etc.
- Just Links
- Only elements like <a> tags that navigate somewhere
- All Elements
- Element Visibility trigger
- Fires when a chosen element becomes visible to the user
- Can be set on an ID or Class tag
- Form Submission trigger
- Scroll Depth trigger
- Fires based on how far the user has scrolled
- Can be set for vertical or horizontal scrolling
- YouTube Video trigger
- Custom Event trigger
- History Change
- JavaScript Error trigger
- Timer trigger
- Trigger Group
Reference: https://support.google.com/tagmanager/topic/7679108?sjid=14244337646739296041-AP
Testing
Click "Preview" in the top right of the workspace to
launch Google Tag Assistant.
Some articles suggest using the Chrome extension called Tag Assistant, but that's an old method that's no longer used.
Publishing
Using the "Submit" button in the top right of the workspace,
you can push your configuration live to production.
It also comes with version control built in.