
What Is Google Tag Manager?
This post explains how to set up Google Tag Manager (GTM) on WordPress.
You won't need any third-party plugins or manual code edits!
This article reflects the setup as of September 2024.
Setting Up Tag Manager
Open the WordPress admin dashboard, then
activate the Google Site Kit plugin.
Once Site Kit is activated, a screen for connecting your Google account will open. Set up your account and follow the on-screen instructions.
Once setup is complete, the dashboard will open.
The dashboard will likely be blank for the first day or two, but data will start showing up once everything is ready.
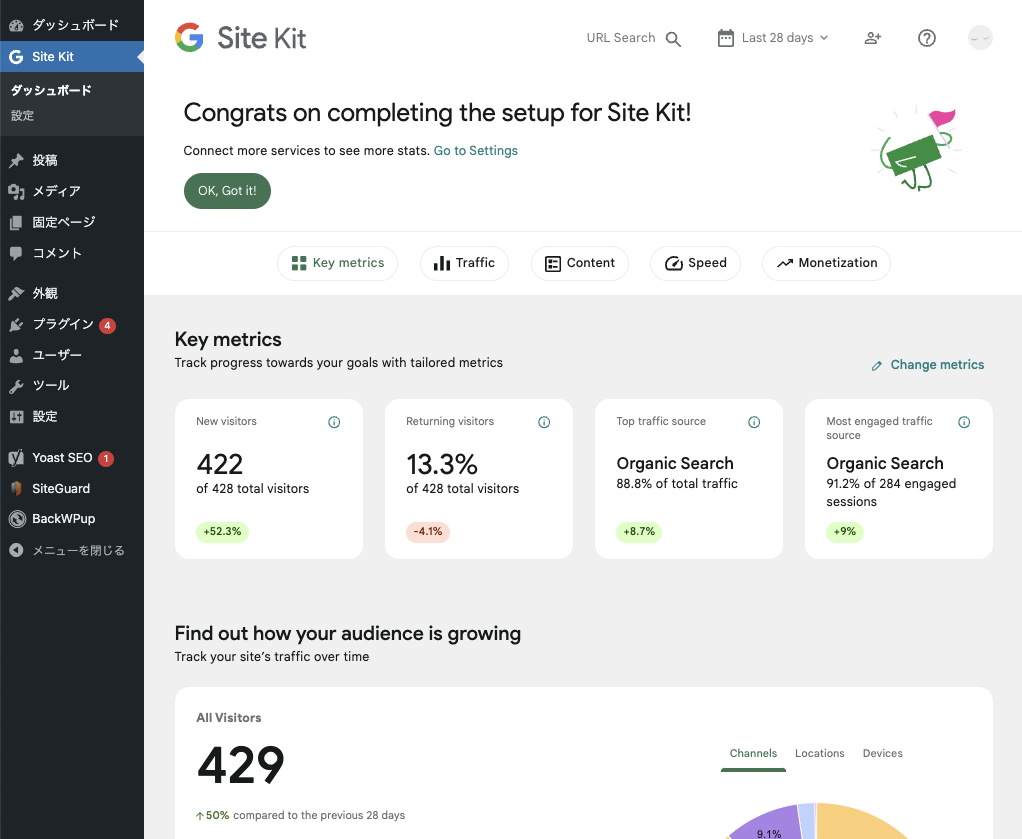
Once the plugin is activated, click [Settings] under Site Kit in the left sidebar menu.
You'll see three tabs — Connected Services, Connect More Services, and Admin Settings.
Click [Connect More Services].
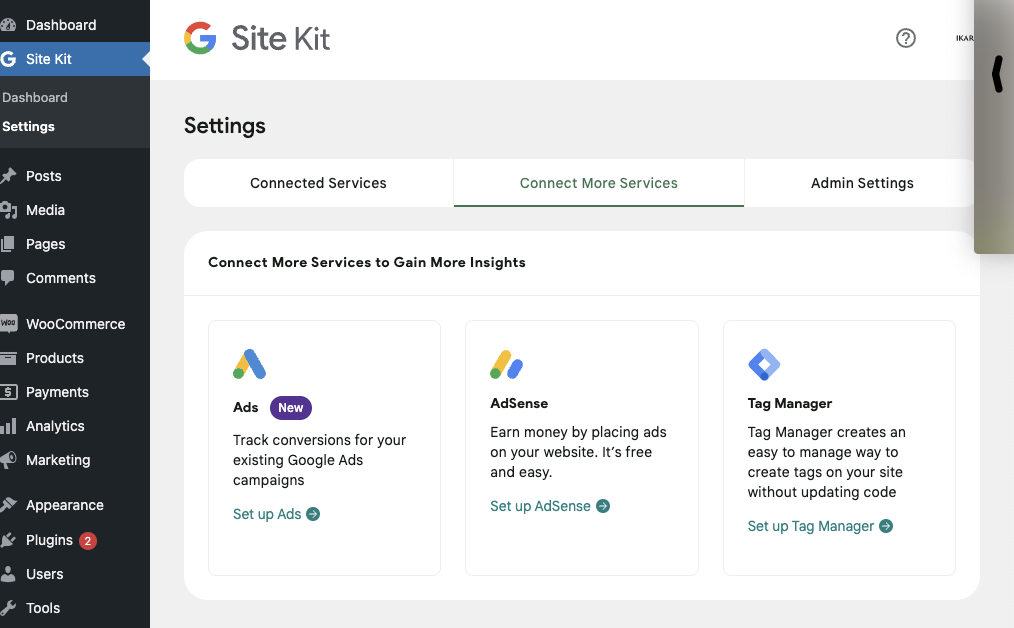
Now click the [Set up Tag Manager] button.
If you haven't set up a Tag Manager account before, click [Create an account].
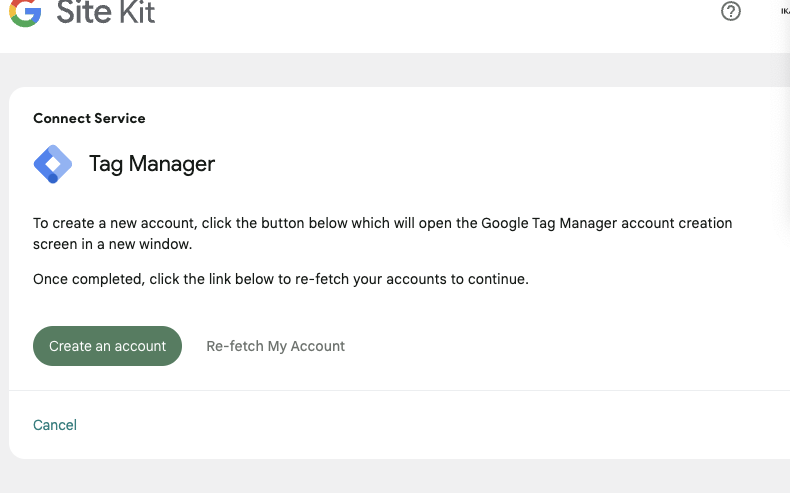
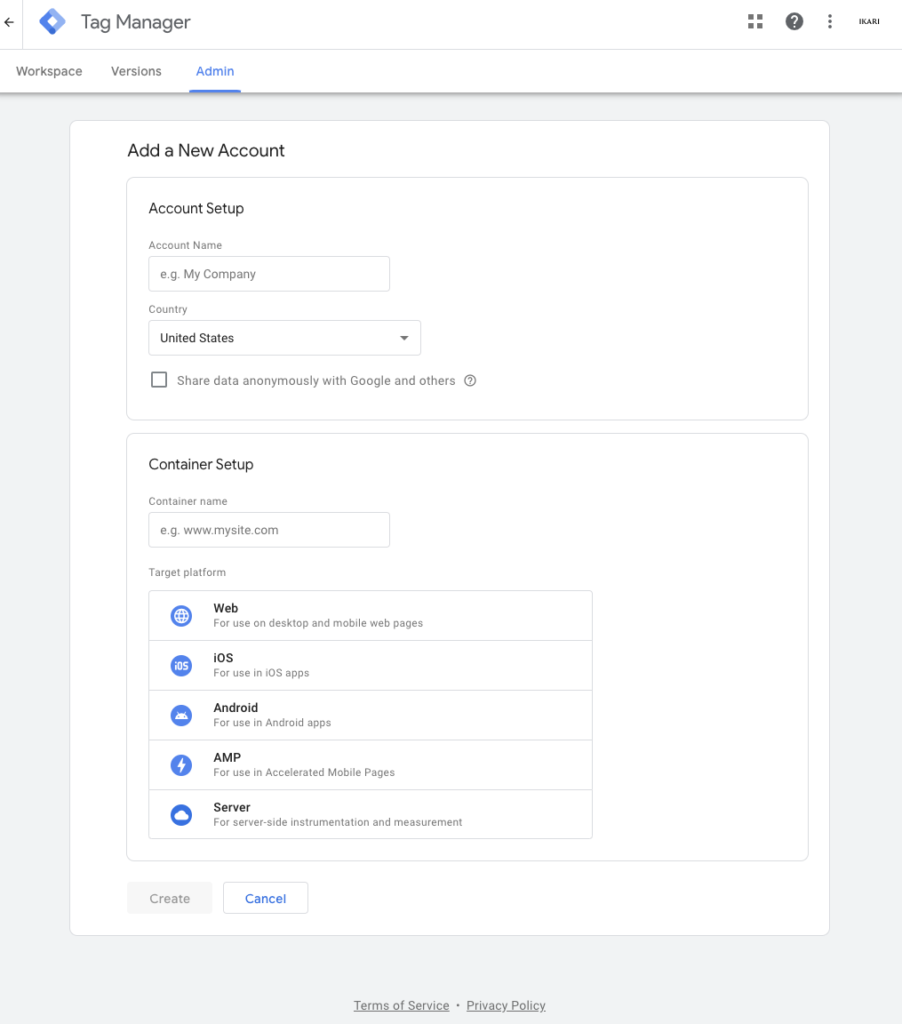
This should open https://tagmanager.google.com in a new tab.
Enter your account name and country.
For the container setup, fill in:
- Container name → your site's name
- Target platform → Web
Enter and select these values.
Once done, click the [Create] button and agree to the terms of service.
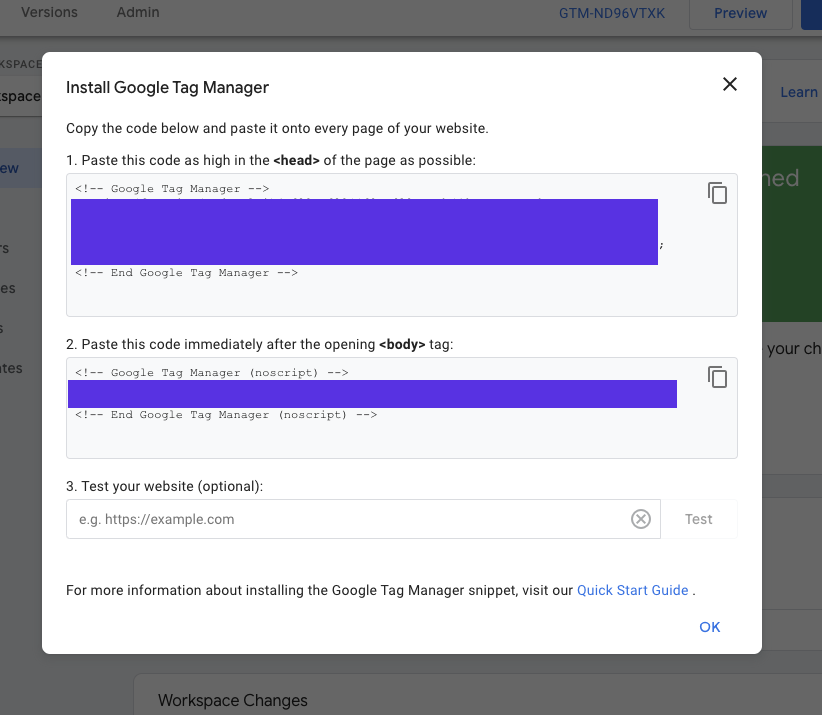
Once setup finishes, an "Install Google Tag Manager" popup will appear, but since we're using WordPress, it's safe to close it.
Now head back to the WordPress admin dashboard.
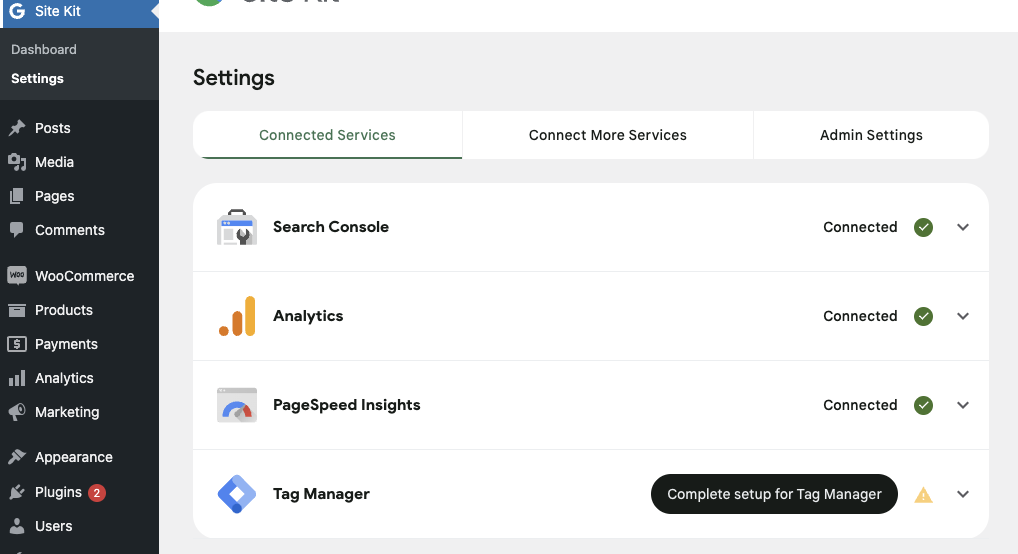
On the Site Kit settings page, you'll see a [Complete setup for Tag Manager] button — click it.
You'll then be able to select the account name and container name you just created — pick them and click [Complete setup].
That's it — the WordPress setup is complete.
Summary
That's how to set up Tag Manager on WordPress.
At this point the basic setup is done, but to really make use of Tag Manager, you'll also need to connect it with Google Analytics and set up tracking for button clicks.
I cover that in another article, so take a look.