

This post gives a quick rundown of how to use Amplify Studio.
While trying to build an admin screen for an app I'd deployed with amplify, I came across the term "Amplify admin UI" in an older article — but it looks like that has since been merged into Amplify Studio.
Opening Amplify Studio
Before you start, it's handy to create a new repository on GitHub.
For how to set up a project using the amplify cli, see the article below.
Open Amplify from the AWS console.
Once it's open, if you haven't deployed your own app yet, follow the prompts to deploy it.
Once the deployment succeeds, you'll be able to open the amplify studio settings from the Amplify console.
You can display the amplify console by running the following command in your terminal. ⚠️ Note: this is different from the page that comes up when you search for "amplify" in a search engine
amplify console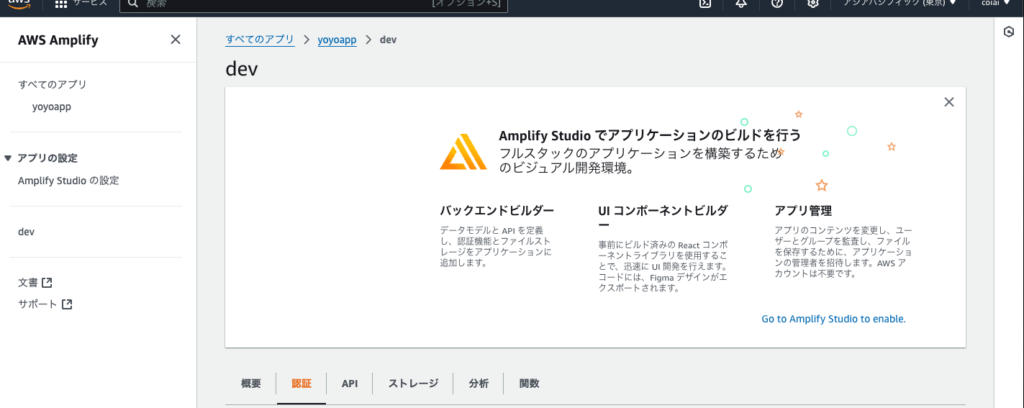
Once the console opens, click Go to Amplify Studio to enable.
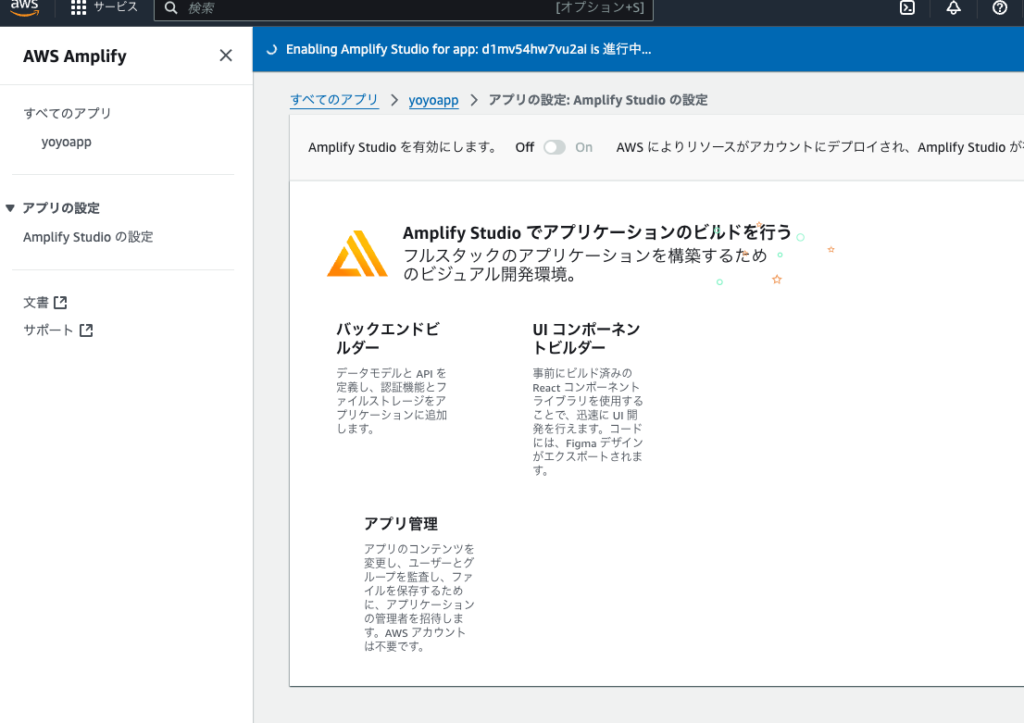
Switch on the toggle for Enable amplify studio.
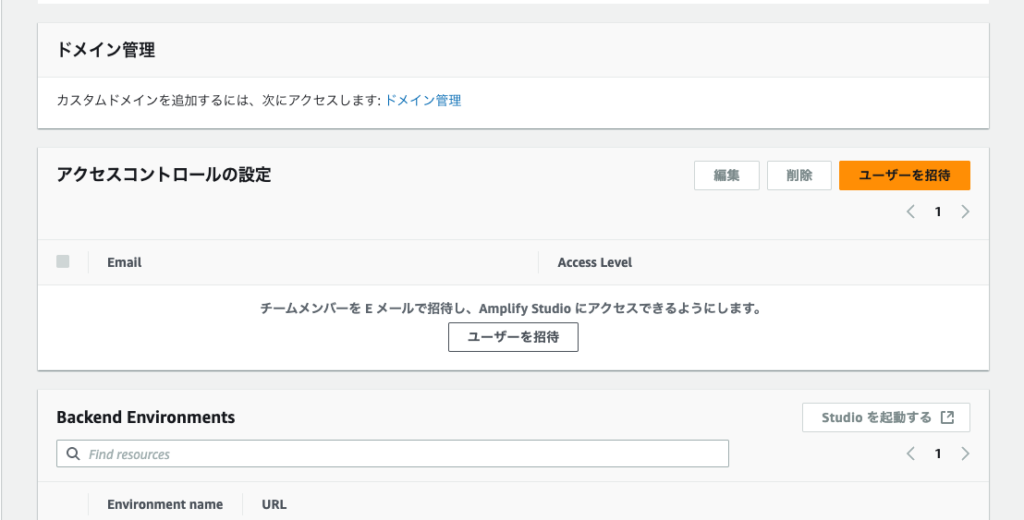
Once loading finishes, you'll see a screen like the one above. Click the Backend Environments URL to go to Amplify Studio.
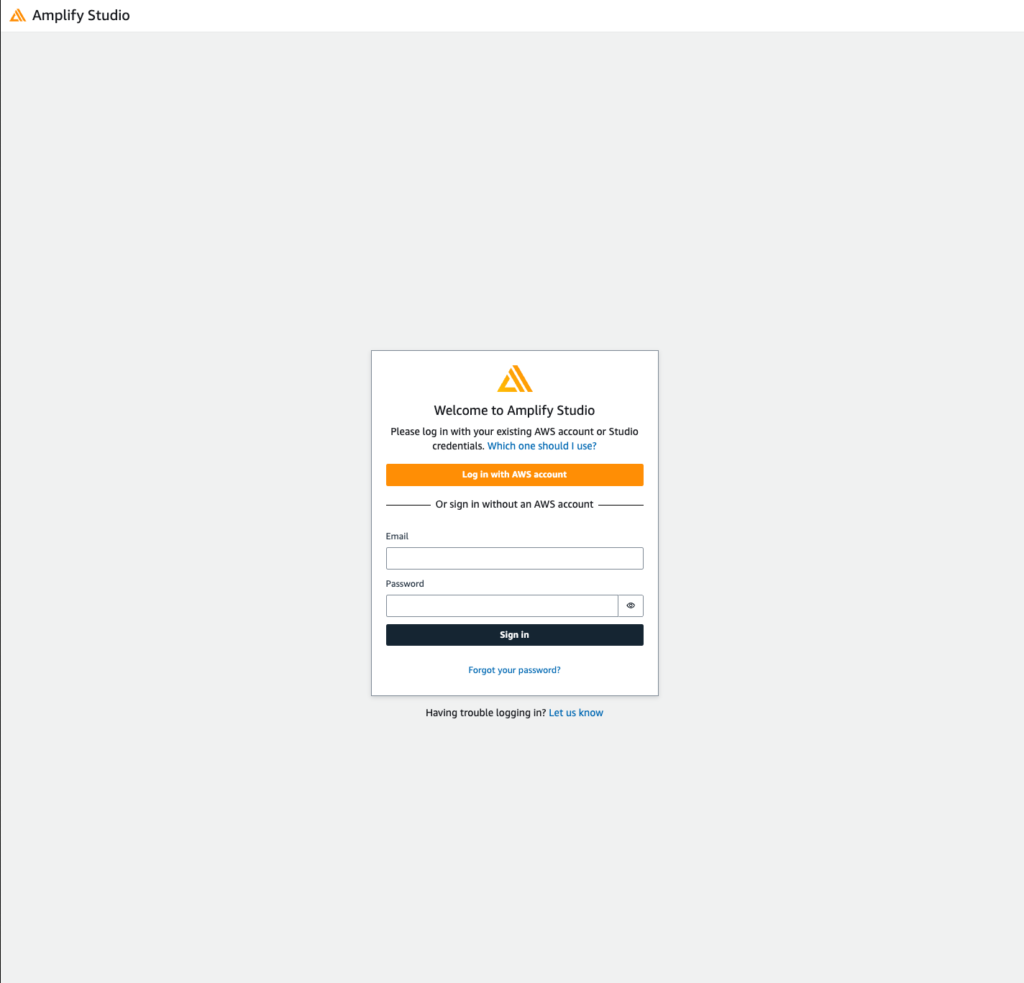
Click the Login with AWS account button to proceed.
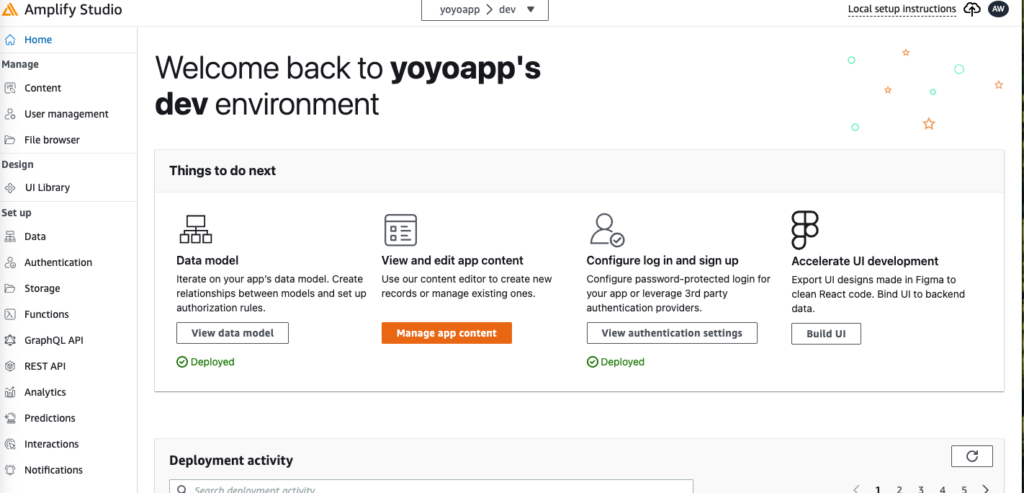
You should land on a screen like this!
Once you're here, you can use buzzworthy features like UI Library → sync with Figma from the sidebar!
Great work getting through that.