
❓ What This Is About
This is a walkthrough of the process for submitting an iOS, macOS, or visionOS app to the store.
This post reflects the process as of July 2024.
📗 Steps
🛠️ In Xcode
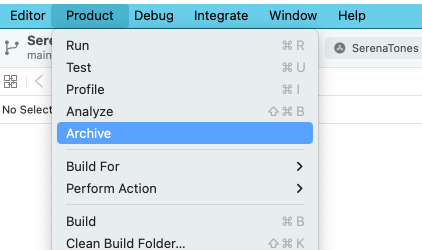
Open Xcode and choose Archive from the Product menu.
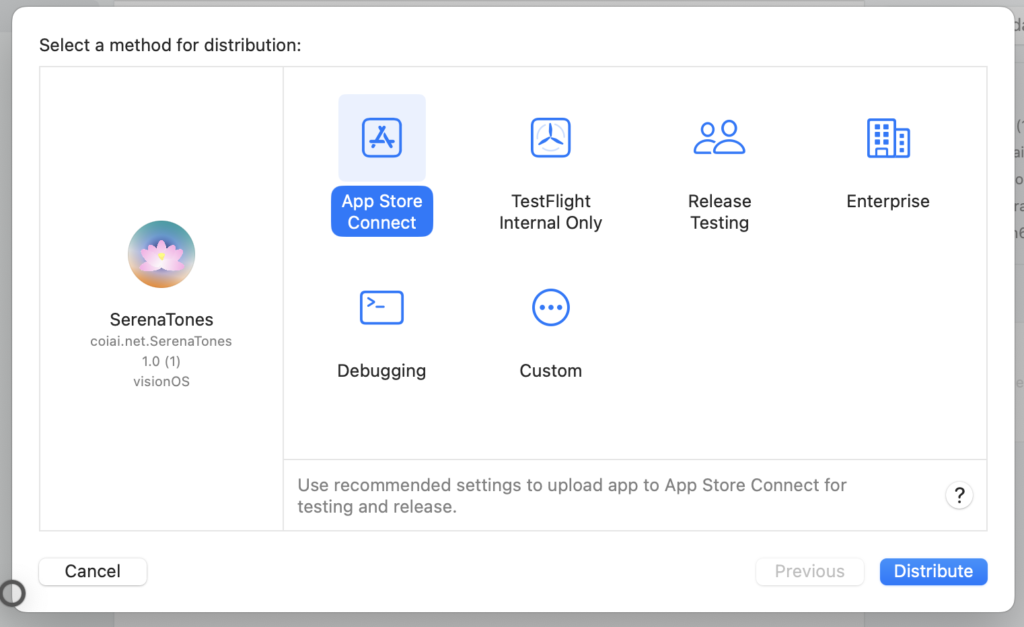
A popup will appear — select App Store Connect.
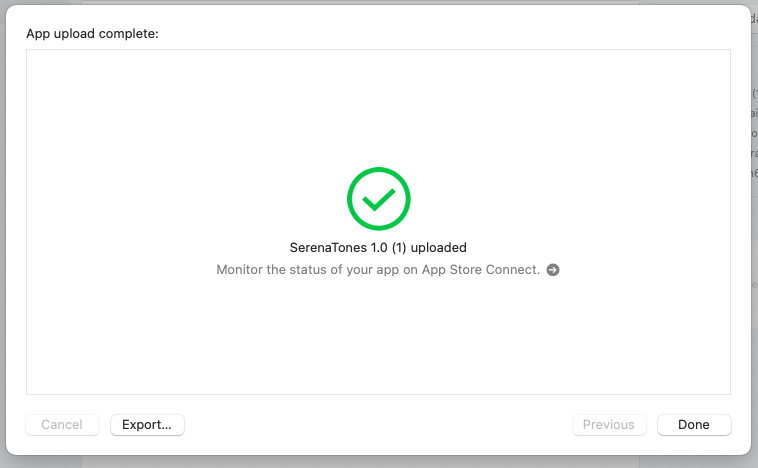
From here, you can basically just keep clicking OK to proceed.
💻 In App Store Connect
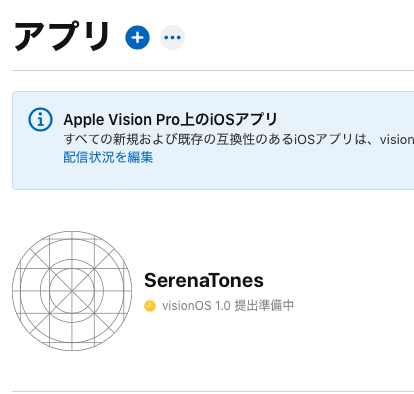
Go to https://appstoreconnect.apple.com/apps and you should see the app you just distributed.
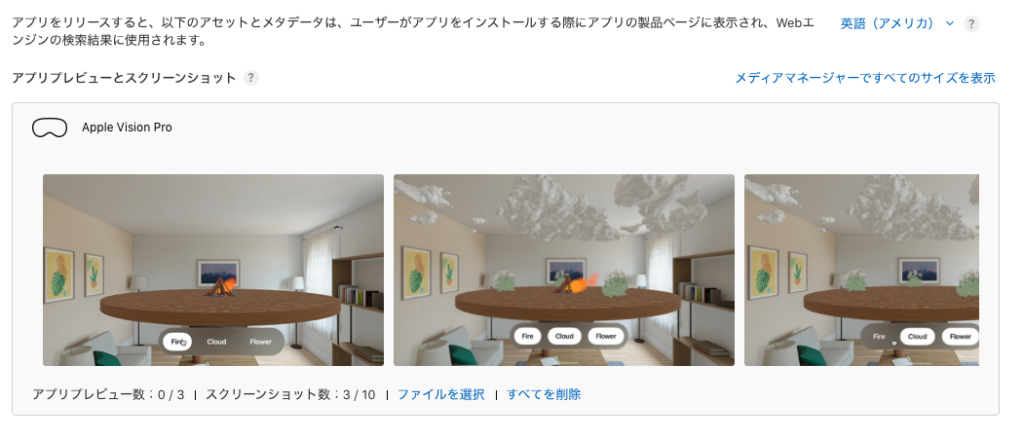
Add your screenshots.
For visionOS, they need to be 3840×2160px.
Get them ready ahead of time.
See here for how to change an image's resolution.
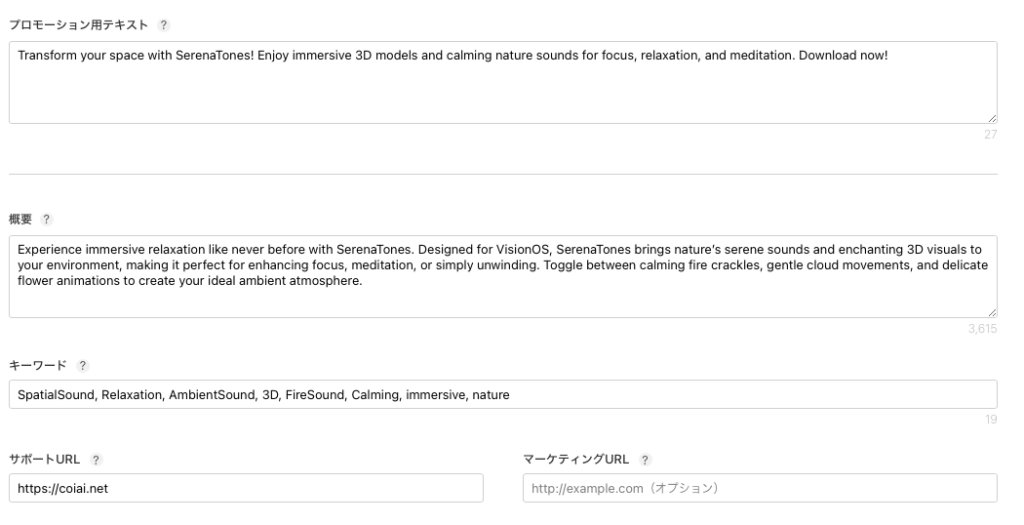
- Promotional text
- Description
- Keywords
- Support URL
Fill these in.
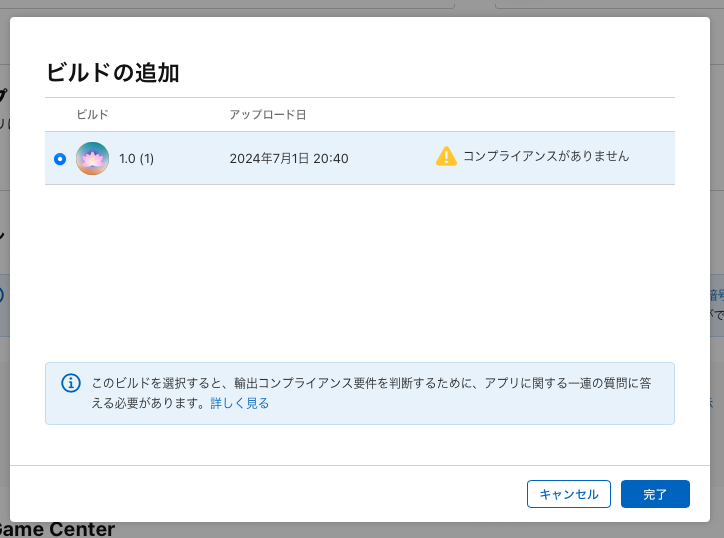
Add a build. Since you just distributed one, it should be selectable.
Set up the compliance section too — clicking through and choosing Next should be enough in most cases (distribution to France requires a separate declaration).
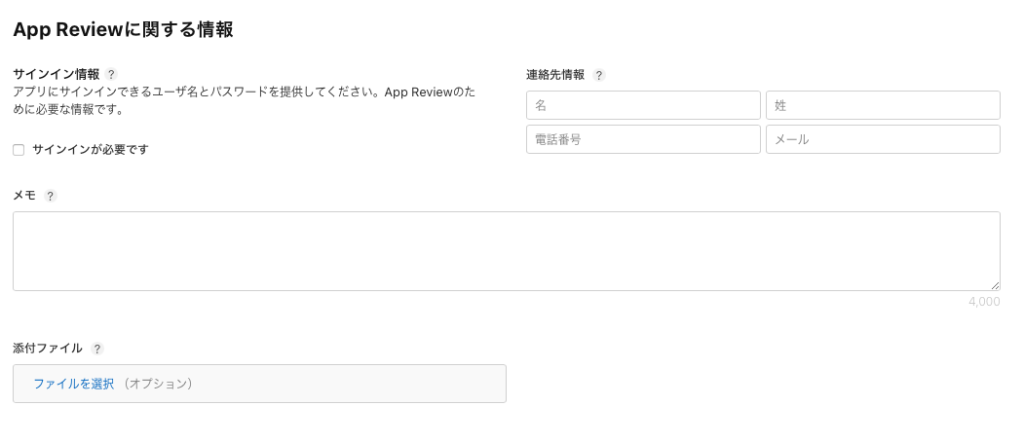
If your app requires login, add sign-in credentials under App Review Information.
If it's not needed, uncheck that option.
Once done, click the Save button in the top right of the page.
General
Switch to the General tab and add the app's name and subtitle.
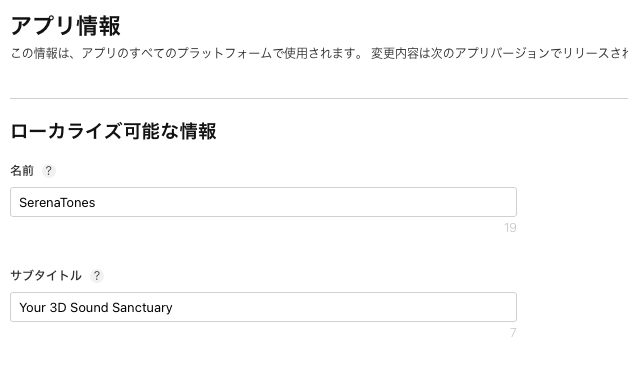
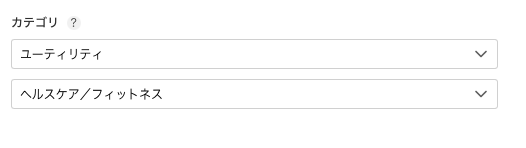
In the General Information section, select "Content Rights," "Age Rating," and "Category."
Once done, click the Save button in the top right of the page.
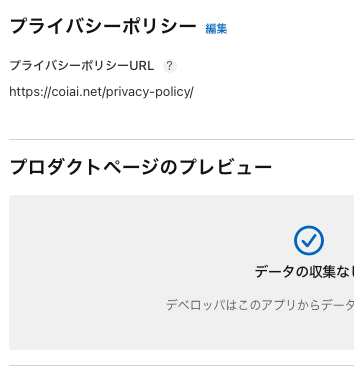
App Privacy
Go to the "App Privacy" tab.
Set your "Privacy Policy URL" and "Product Page Preview" here.
If you don't already have a privacy policy page, a site like https://studio.design/ is a quick way to put one together.
Once done, click the "Publish" button in the top right of the page.
Pricing and Availability
Choose your price.
Paid apps require some additional setup (you'll need to agree to a separate set of terms).
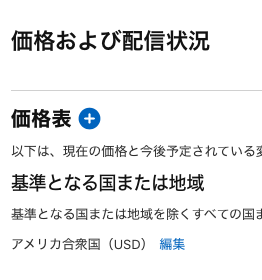
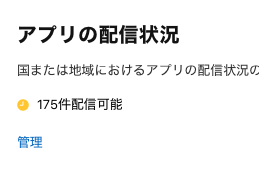
Set which countries you want to distribute to under "App Availability."
Submitting the App
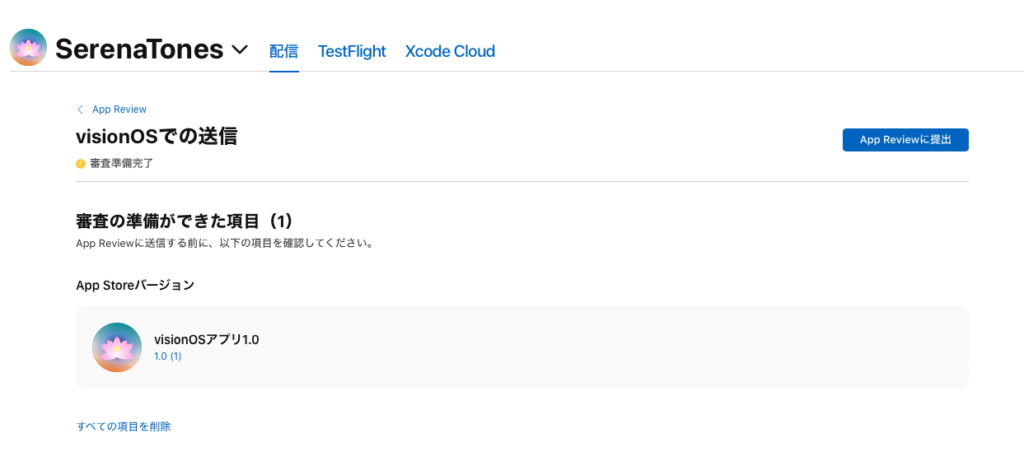
Once everything is filled in, click "Add for Review" to submit it to App Review.
Wrapping Up
And that's it. Nice work!
Thanks so much for reading!!!