
❓ What Is This?
In a previous post, I covered how to access a file server from an internal network.
This time, I'm noting down the steps for accessing that file server from an external network while out and about ✍️
🪴 Environment
Server side
- Distributor ID: Ubuntu
- Description: Ubuntu 24.04 LTS
- Release: 24.04
- Codename: noble
- samba
Client side: MacBook Air
- Sonoma 14.5 (23F79)
- Apple M1
- 16GB
🖐️ Steps
Configuring Samba for IPv6
Checking the Network
Check your network interface name.
Names like eth0 or ens33 are typically used.
ip addrBy default, /etc/netplan/01-network-manager-all.yaml contains the following.
# Let NetworkMnager manage all devices on this system
network:
  version: 1
  renderer: NetworkManager
For reasons explained below, we're aiming to expose this over IPv6 rather than IPv4.
That way, the router-side setup should work fine even on DS-Lite.
Configuring smb.conf
Configure Samba to listen on IPv6.
Add the following lines to the [global] section of /etc/samba/smb.conf
interface = "lo" "enp3s0" "wlpws0"
   bind interfaces only = yes
   smb ports = 445
🔥 Firewall Configuration
Add the ports Samba needs to your firewall rules.
If you want to open every Samba port
sudo ufw allow sambaSamba uses ports 137, 138, 139, and 445.
If you're connecting over an external network, opening only 445 should be lower-risk from a security standpoint.
sudo ufw reload
Reloads the firewall configuration so the rule you just added takes effect.
sudo ufw allow from any to any port 445 proto tcp
sudo ufw reload
Writing it as above opens only TCP port 445.
🐏 What Is ufw?
sudo ufw reload is a command related to Ubuntu's firewall (UFW: Uncomplicated Firewall).
ufw allow opens
- TCP/UDP 137 (NetBIOS Name Service)
- TCP/UDP 138 (NetBIOS Datagram Service)
- TCP 139 (NetBIOS Session Service)
- \TCP 445 (Microsoft-DS Active Directory, Windows shares)
these ports.
Checking the Firewall
You can check which ports are open with ufw status.
sudo ufw statusIf you opened something by mistake, remove it with the following command.
sudo ufw delete allow HOGEUsing Dynamic DNS
So the connection keeps working even if the server's IP address changes,
I decided to use DDNS via https://noip.com.
- Creating a domain on noip.com (something like sample.ddns.net)
- Installing and configuring ddclient with apt
I'll assume you've already got this set up before moving on.
You can check whether it's working with the following command.
sudo systemctl status ddclientIf you haven't set this up yet, check out this article.
Setting Up a VPN
Following outdated Easy-RSA instructions won't work, so I referred to this instead: https://community.openvpn.net/openvpn/wiki/EasyRSA3-OpenVPN-Howto
Set up L2TP/IPsec or OpenVPN and access the internal network over the VPN.
This lets you get around the limitations of DS-Lite.
sudo apt intall openvpn easy-rsa -yCreate and initialize the PKI directory
make-cadir ~/openvpn-ca
cd ~/openvpn-ca
./easyrsa init-pki
make-cadir is an Easy-RSA command that creates a directory containing your OpenVPN configuration.
Building the CA
Running this command
will prompt you with:
Common Name(eg: your user, host, or server name)[server]:
Go ahead and enter a name.
./easyrsa build-ca nopassCreating the server certificate
./easyrsa gen-req server nopassCreating the server key
./easyrsa sign-req server serverGenerating the DH parameters
./easyrsa gen-dhCreate a certificate and key for the client.
Pick any name you like for the client (e.g., client1).
./easyrsa gen-req client1 nopass
./easyrsa sign-req client client1
Copy the generated certificates and keys into the OpenVPN directory.
sudo cp ~/openvpn-ca/pki/ca.crt /etc/openvpn/
sudo cp ~/openvpn-ca/pki/issued/server.crt /etc/openvpn/
sudo cp ~/openvpn-ca/pki/private/server.key /etc/openvpn/
sudo cp ~/openvpn-ca/pki/dh.pem /etc/openvpn/
sudo cp ~/openvpn-ca/pki/issued/client1.crt /etc/openvpn/
sudo cp ~/openvpn-ca/pki/private/client1.key /etc/openvpn/
Create the file /etc/openvpn/server.conf
and add the following content.
port 1194
proto udp
dev tun
ca ca.crt
cert server.crt
key server.key
dh dh.pem
server 10.8.0.0 255.255.255.0
ifconfig-pool-persist ipp.txt
push "redirect-gateway def1 bypass-dhcp"
push "dhcp-option DNS 8.8.8.8"
keepalive 10 120
cipher AES-256-CBC
persist-key
persist-tun
status openvpn-status.log
verb 3
Start the OpenVPN service and set it up to start automatically at boot.
sudo systemctl start openvpn@server
sudo systemctl enable openvpn@server
Create the client configuration file (.ovpn). For example, create a file named client1.ovpn with the following content.
The remote hoge.ddns.net is the DNS you created earlier via https://noip.com for your dynamic IP.
Along with the client configuration file,
copy ca.crt, client1.crt, and client1.key
to your client device (a MacBook, in my case) using something like a USB drive.
client
dev tun
proto udp
remote hoge.ddns.net 1194
resolv-retry infinite
nobind
persist-key
persist-tun
ca ca.crt
cert client1.crt
key client1.key
remote-cert-tls server
cipher AES-256-CBC
verb 3
Open the OpenVPN port in your firewall settings.
sudo ufw allow 1194/udpWhat to Do on the Client Side
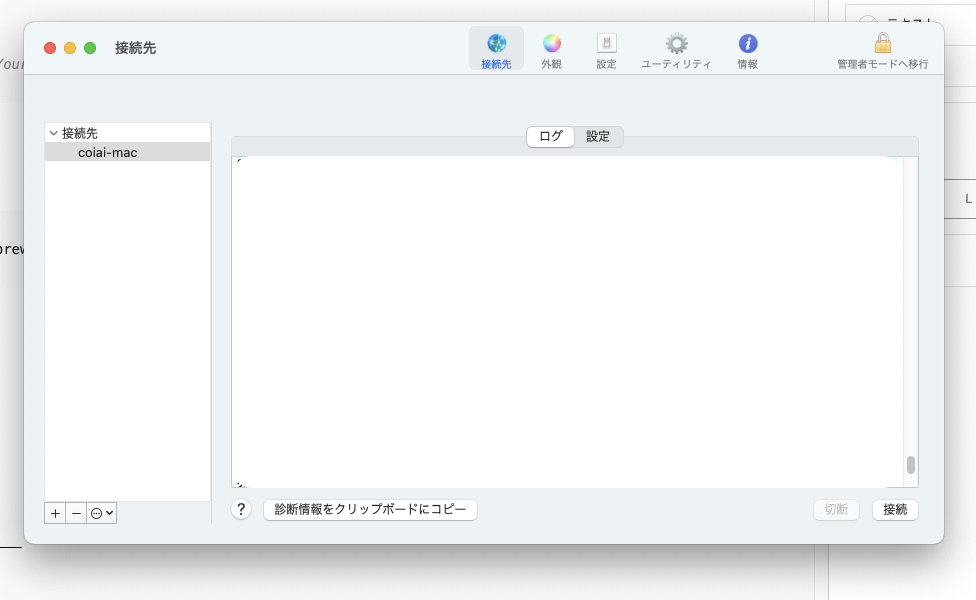
Since I'm using a MacBook Air, I went with Tunnelblick.
brew install --cask tunnelblickFor Tunnelblick, just drag and drop the hoge.ovpn file you copied over to the client (MacBook) earlier.
You'll then be asked whether it's for you only or for all users —
for this use case, "for you only" is fine.
What I Tried but Didn't End Up Using
Router-Side Configuration
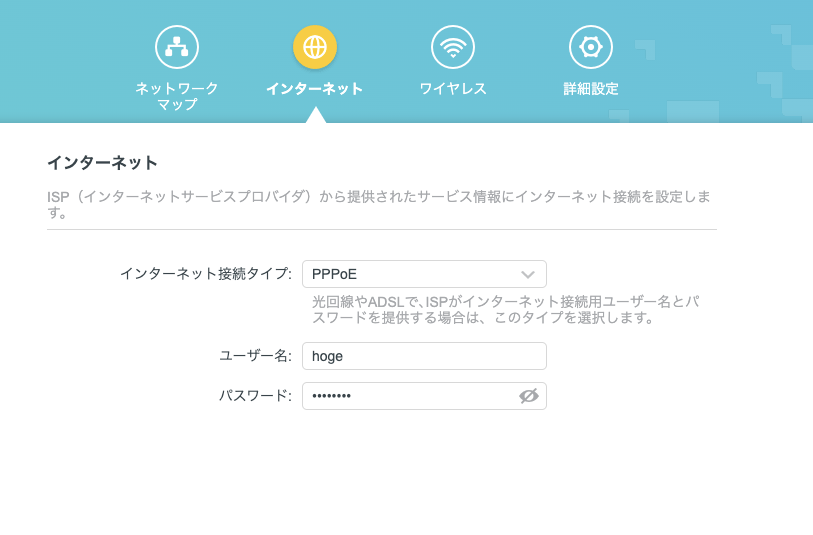
I'm using a TP-Link Archer AX10 router.
Here's how I configured it.
If you're using TP-Link too, go to https://tplinkwifi.net/ to get into the admin panel.
First, DS-Lite, MAP-E, and v6 plus don't let you configure port settings,
so you need to pick something else. (Source: https://www.tp-link.com/jp/support/faq/2799/)
That means you'd need to switch to PPPoE.
For an article on the differences between these connection types, see this one
However, if it's the same router you use day-to-day, switching to PPPoE ends up feeling slower than DS-Lite.
So in the end, I decided to drop the IPv4 connection approach entirely.
🥦 Summary
And you should eat your broccoli too