
The YouTube tutorial below on building rail tracks guided me like an absolute lifesaver!!!!!
Before reading my post, make sure you watch this glorious video first!!!!
This post focuses especially on
the part about converting from geometry nodes into a mesh, which is the real crux of it.
Take it as it comes.
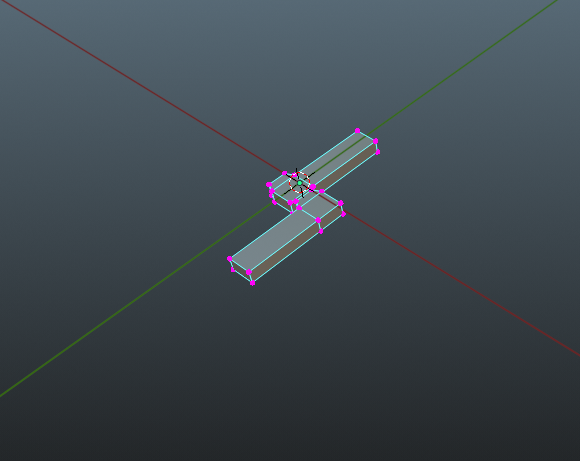
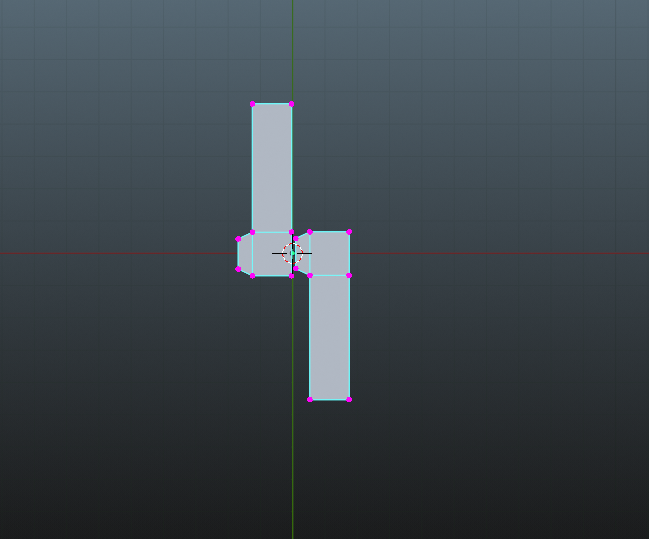
Making the Zipper Teeth
Do your best modeling this!
Here's what I ended up with!〜
Building the Whole Zipper Using Geometry Nodes
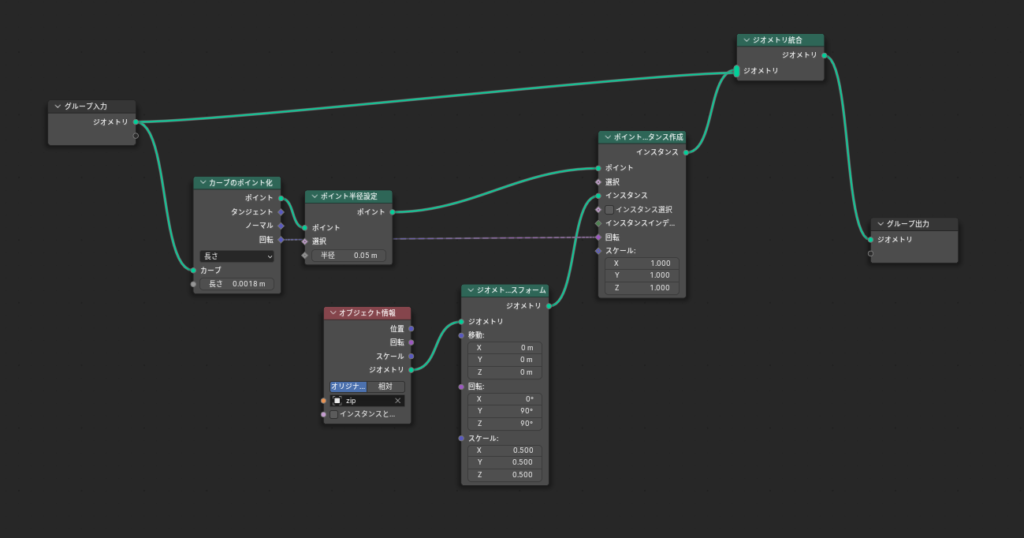
I put together the node setup shown below.
This draws quite heavily on https://www.youtube.com/watch?v=YsmERQUBmvc — that wonderful video.
Everything up to this point is already explained in the link above, so I won't go into too much detail here!!
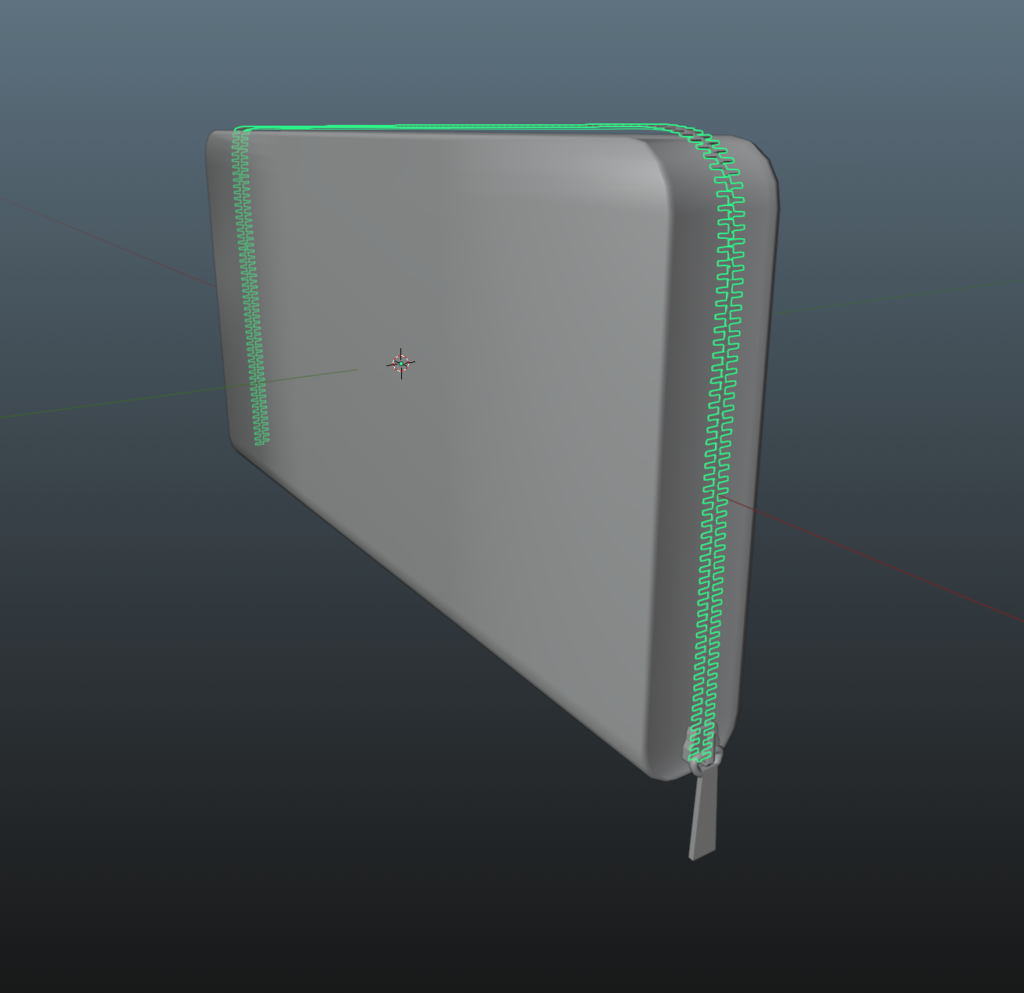
At this point it should look like the images below.
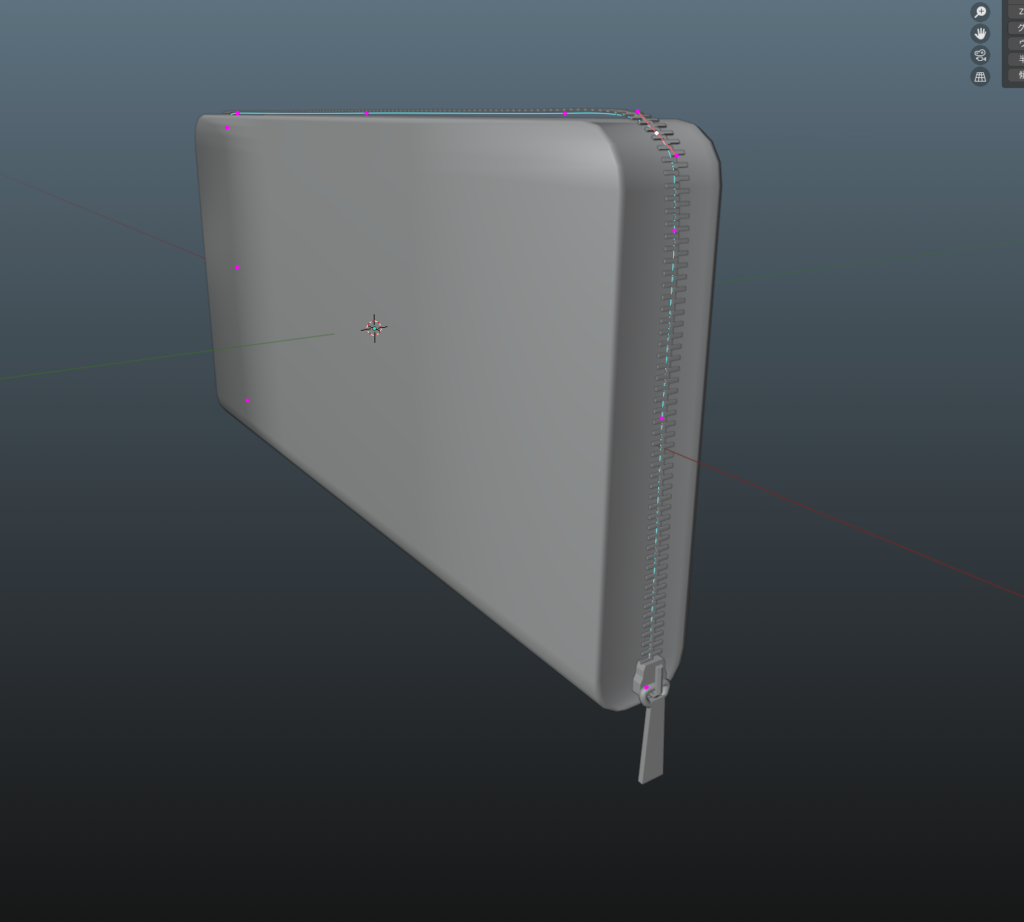
The Main Point: Converting the Curve to a Mesh
Finally, convert the curve to a mesh. You can't apply modifiers until after it's been converted to a mesh.
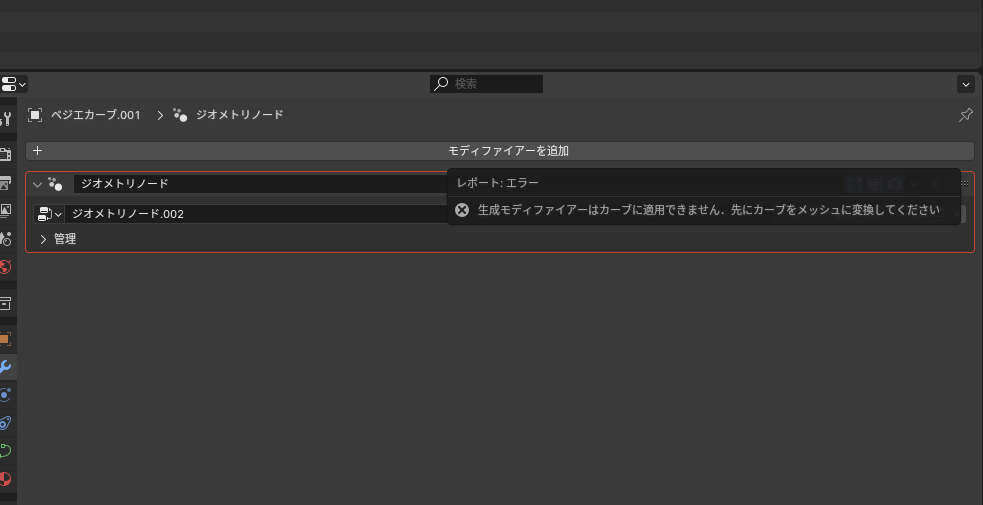
If you try to apply a modifier at this stage,
you'll get a warning along the lines of “Generative modifiers can't be applied to curves, convert the curve to a mesh first“.
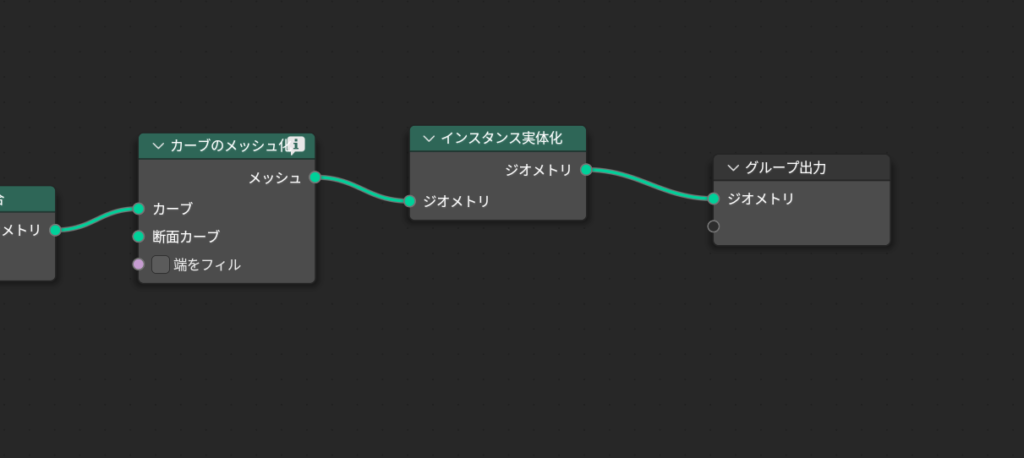
First, add [Curve to Mesh] and [Realize Instances] at the end of the geometry nodes.
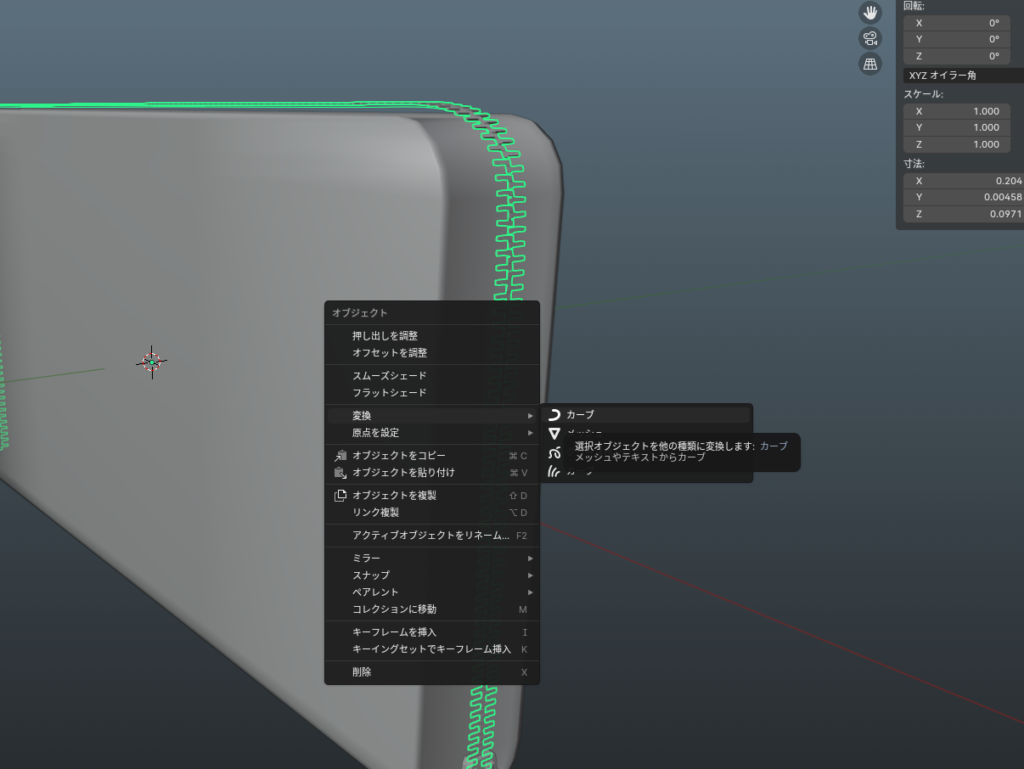
After that, switch to Object Mode, then
- Right-click
- Convert
- Curve
and it should work out fine!
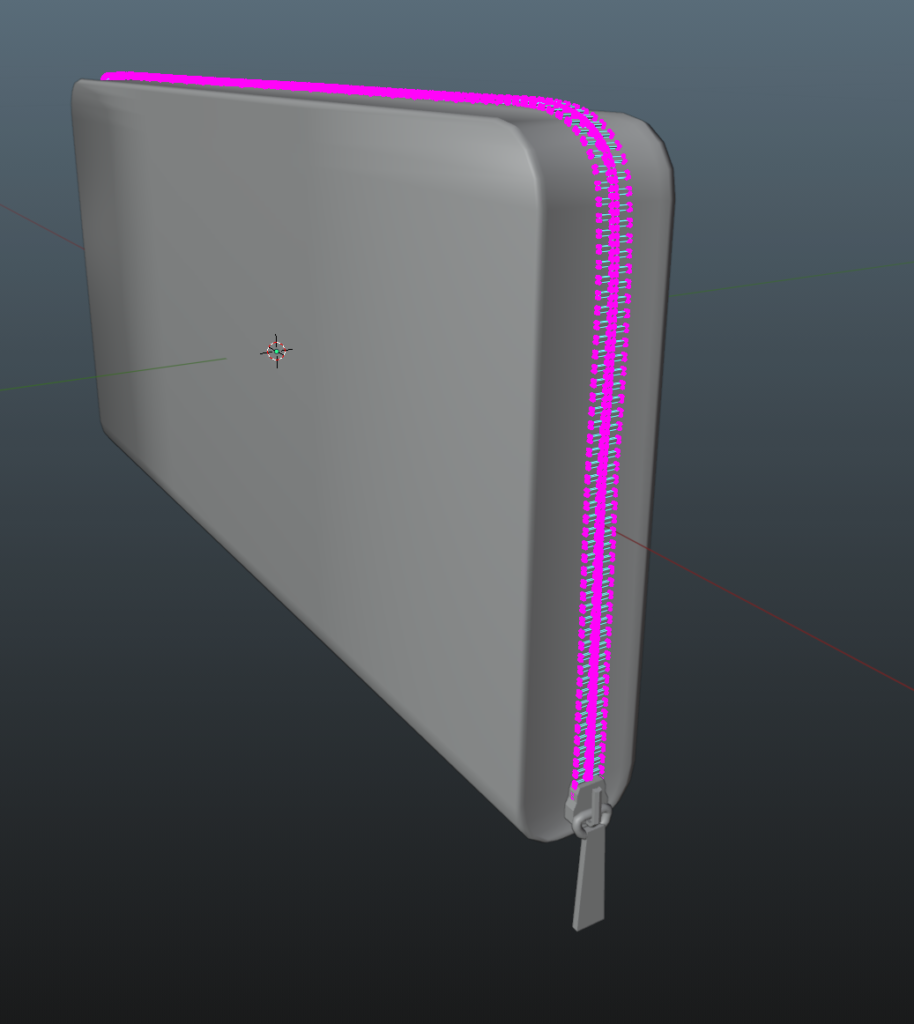
Bonus
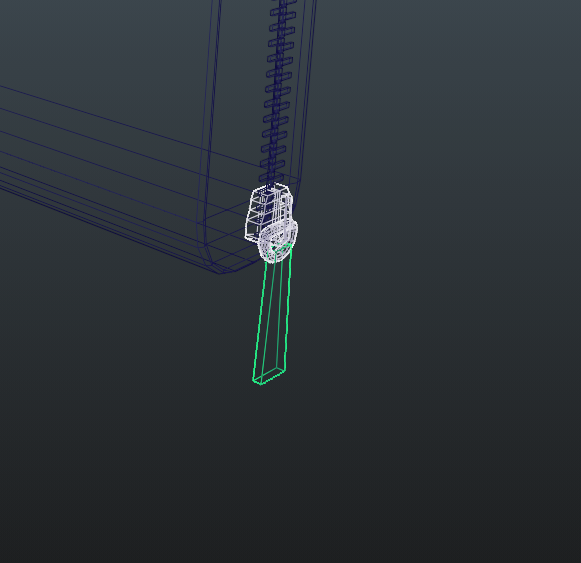
I also modeled the pull tab of the zipper while I was at it.
If you use an add-on, there are already finished versions out there with animation built in — so if you can afford it, buying one of those is honestly the faster route!!!! 😭
Thank you so much for reading all the way through!!!
I'd be glad if this helps anyone else who's been stuck on the same thing 😭